Floors & Areas
Define and manage all floors and their specific areas within your building for highly precise deficiency location and tracking, including a convenient copy feature for common layouts.
Floors Tab & Areas Tab
The Floors Tab & Areas Tab within Building Settings is critical for accurately mapping out the physical layout of your building. This detailed setup is essential for precisely locating deficiencies, generating accurate reports, and streamlining on-site workflows.
Navigate to the Floors Tab
From the Building Settings page (accessed by selecting your project, then a building, and clicking its "Settings" button), click on the "Floors" tab.

Add Floors to the Building
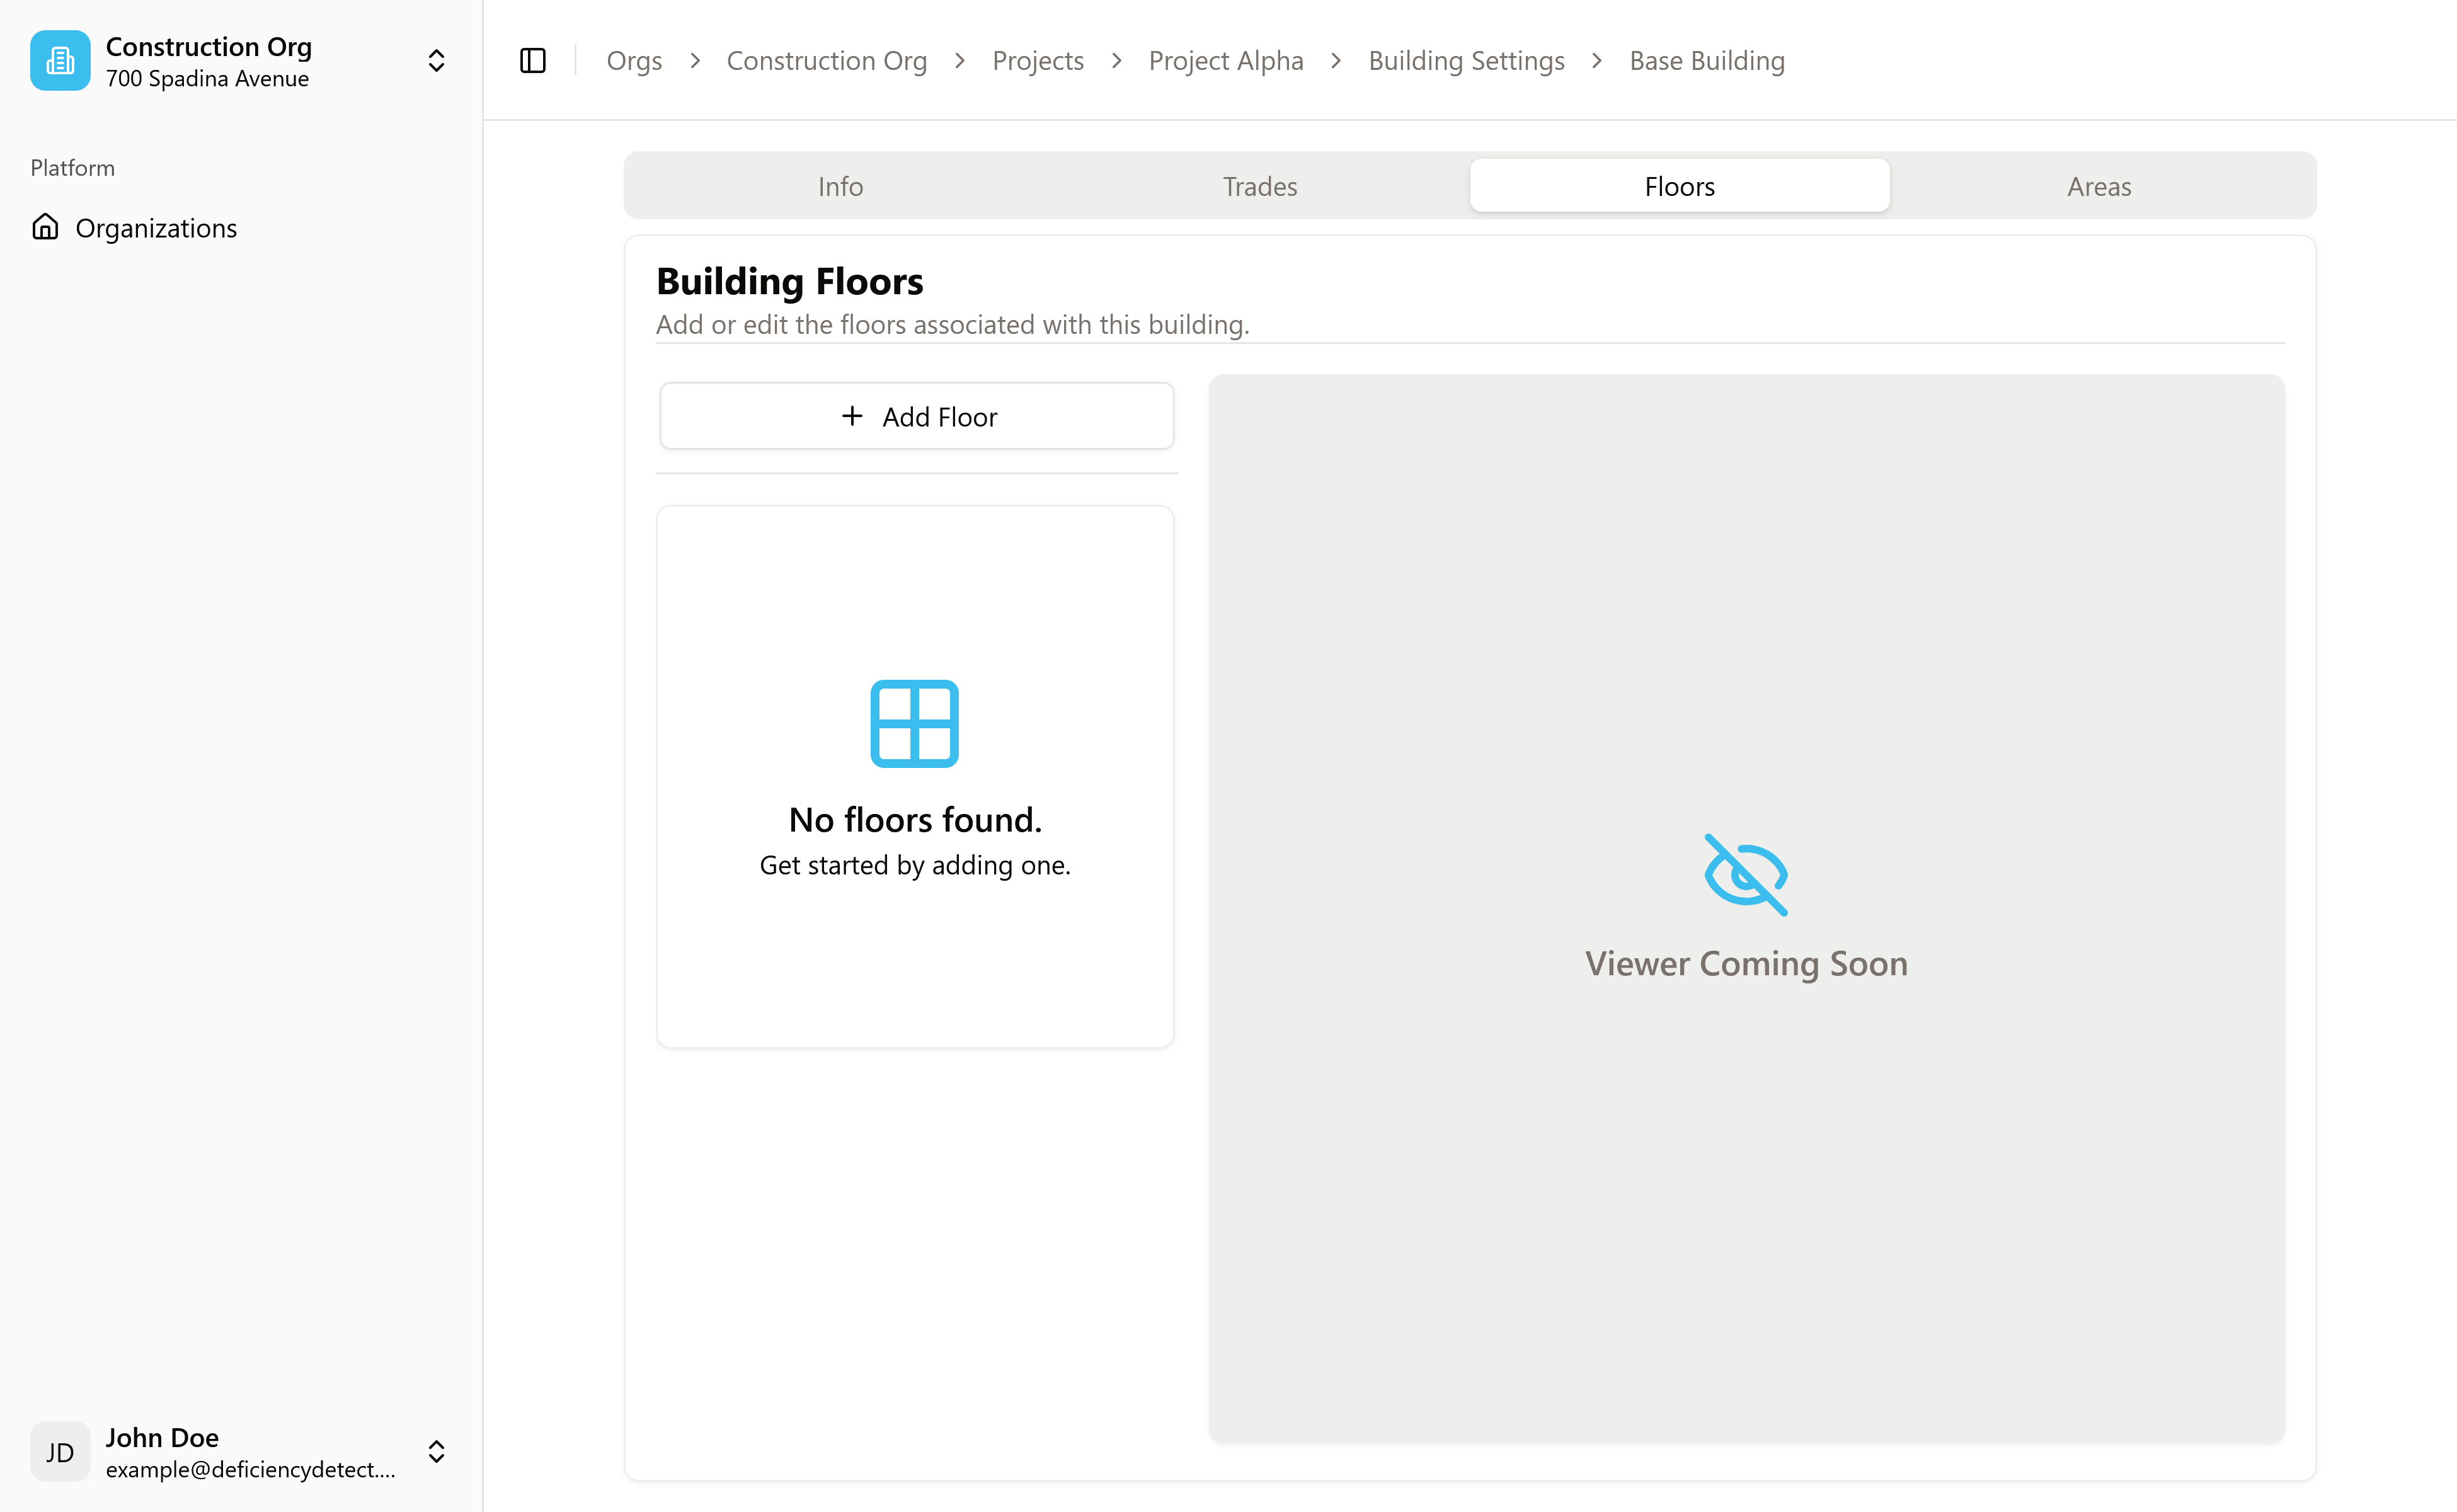
On the "Floors" tab, locate the "Add Floor" button.
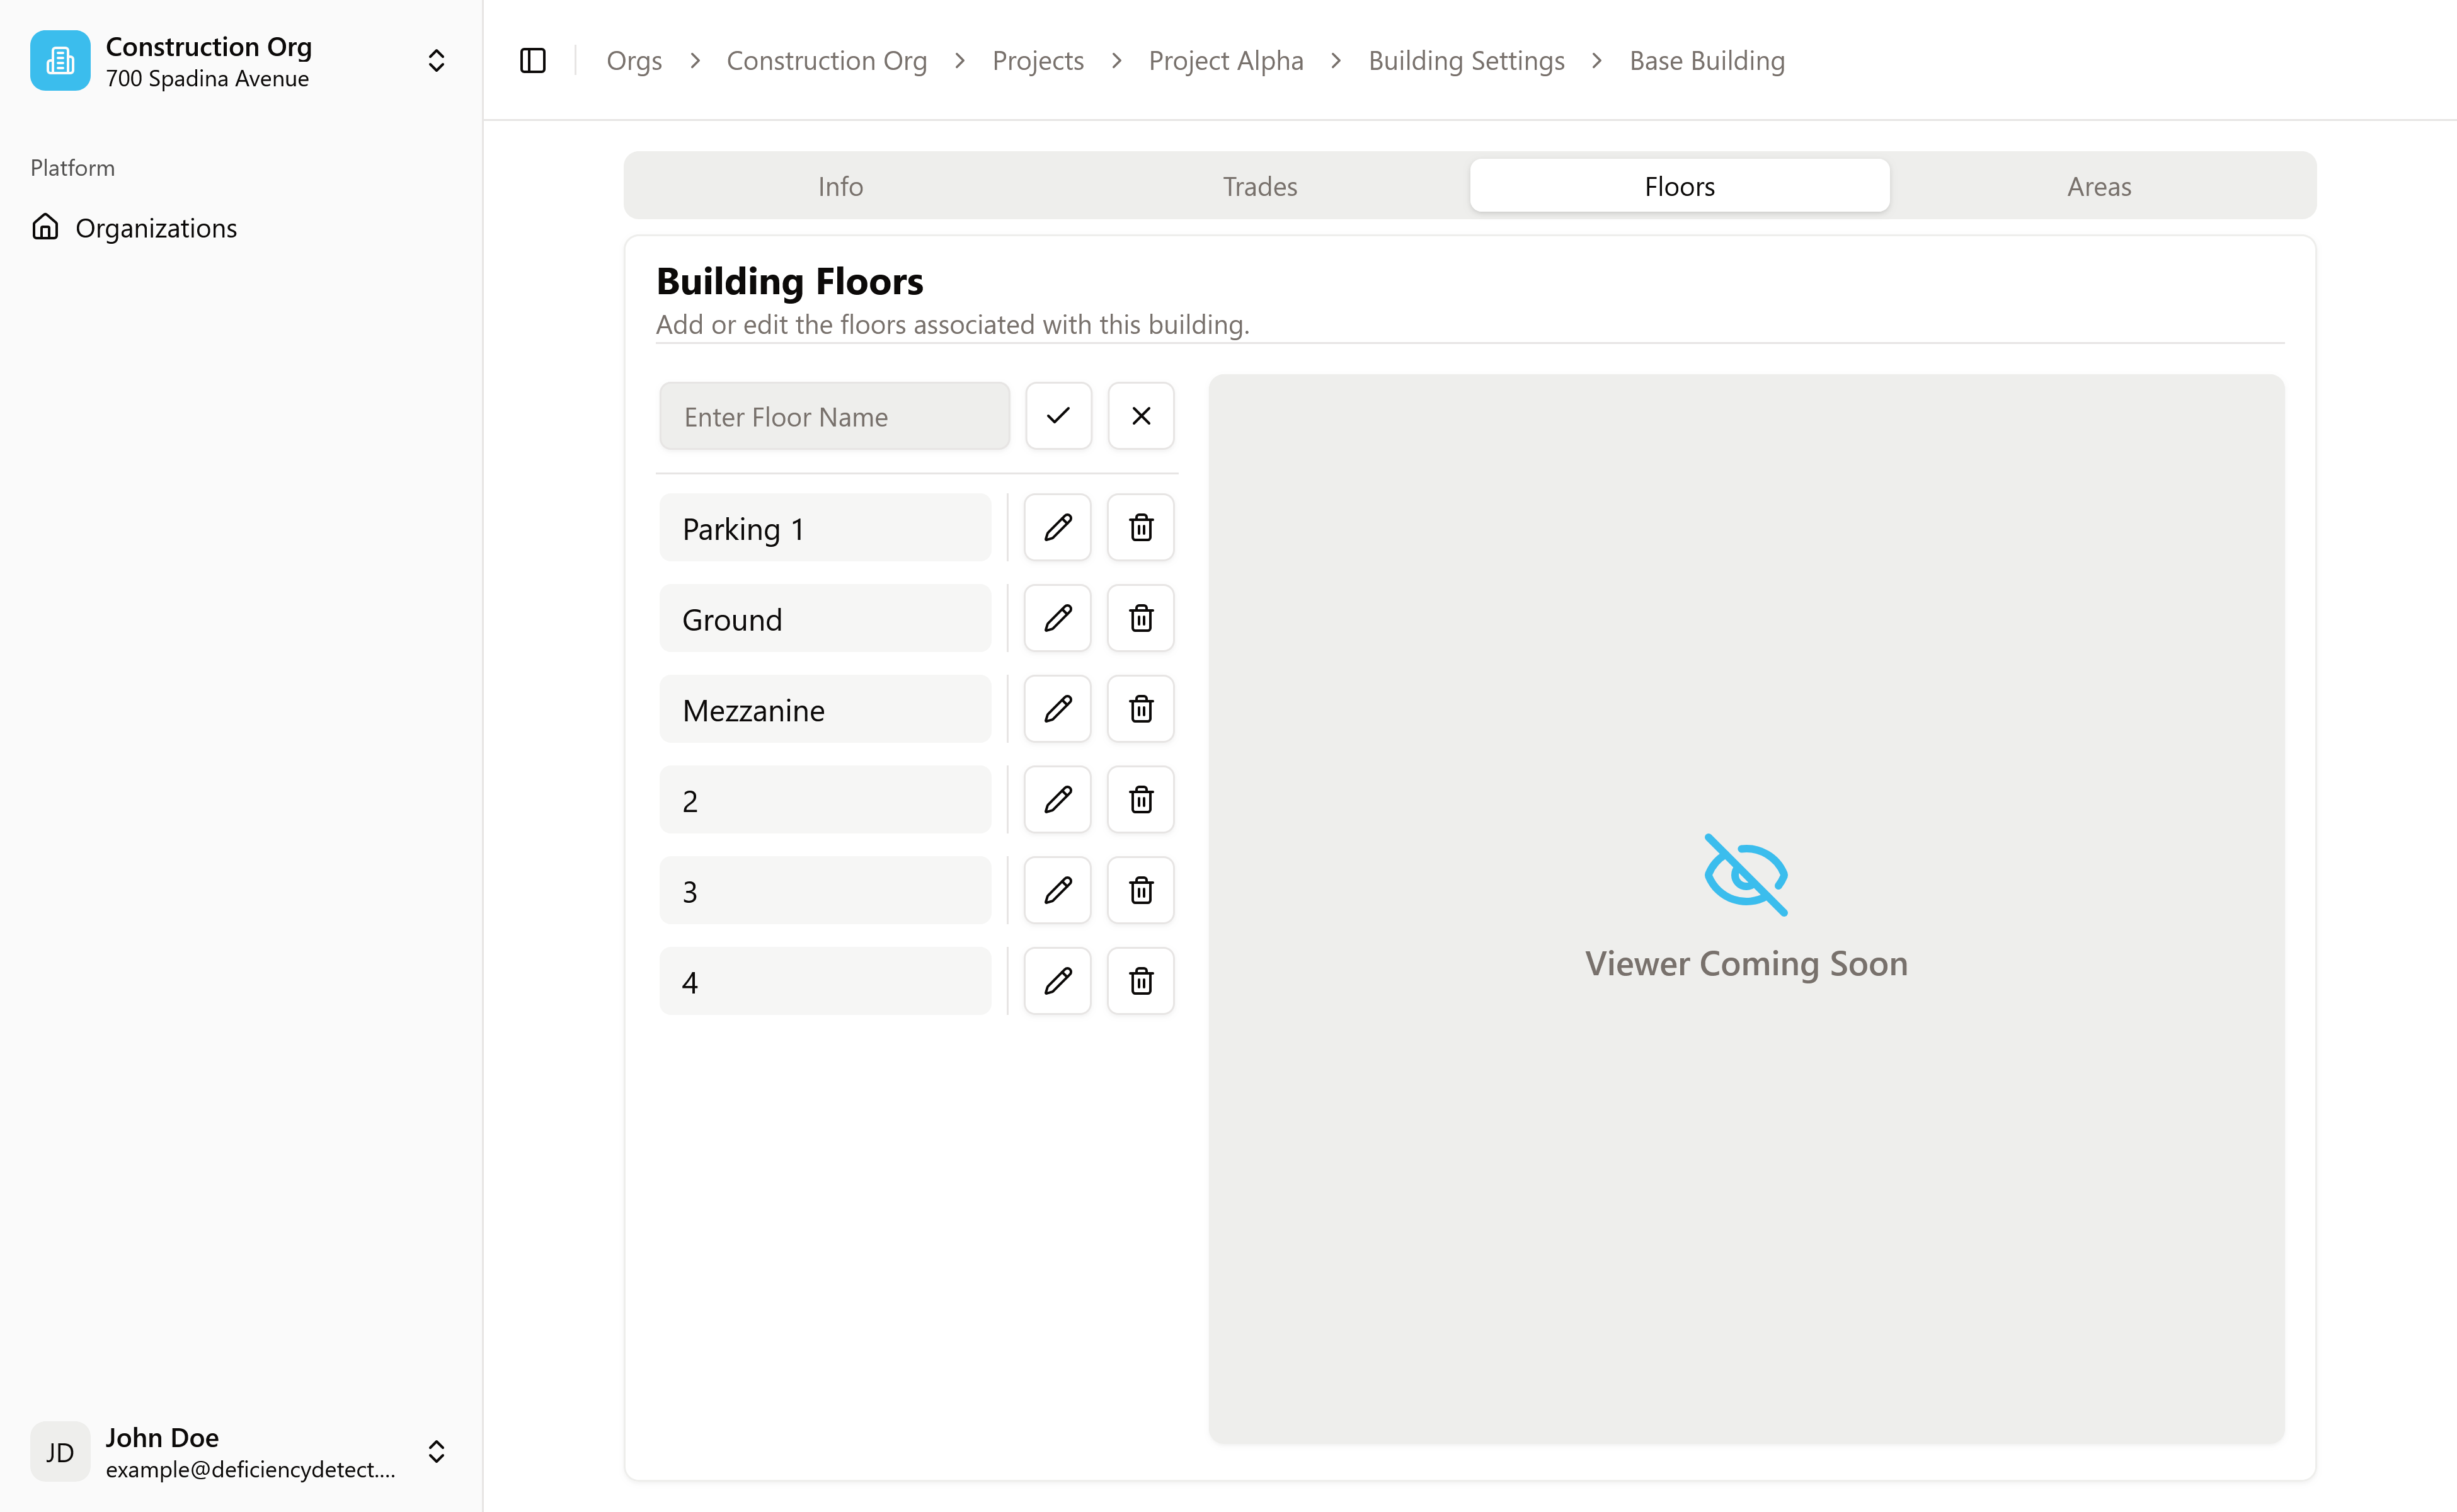
- Click this button, or simply type the name of each floor into the input field and press Enter after each one.
- For lower or uniquely named floors (e.g., "Parking 1", "Mezzanine", "Ground", "Basement"), we highly recommend inputting their full, descriptive names.
- For higher floors that are typically just numbered, we recommend simply inputting the number (e.g., "1", "2", "3").
As you add each floor, the floors list will automatically update. It's best to add all floors in the building at this stage.

Navigate to the Areas Tab
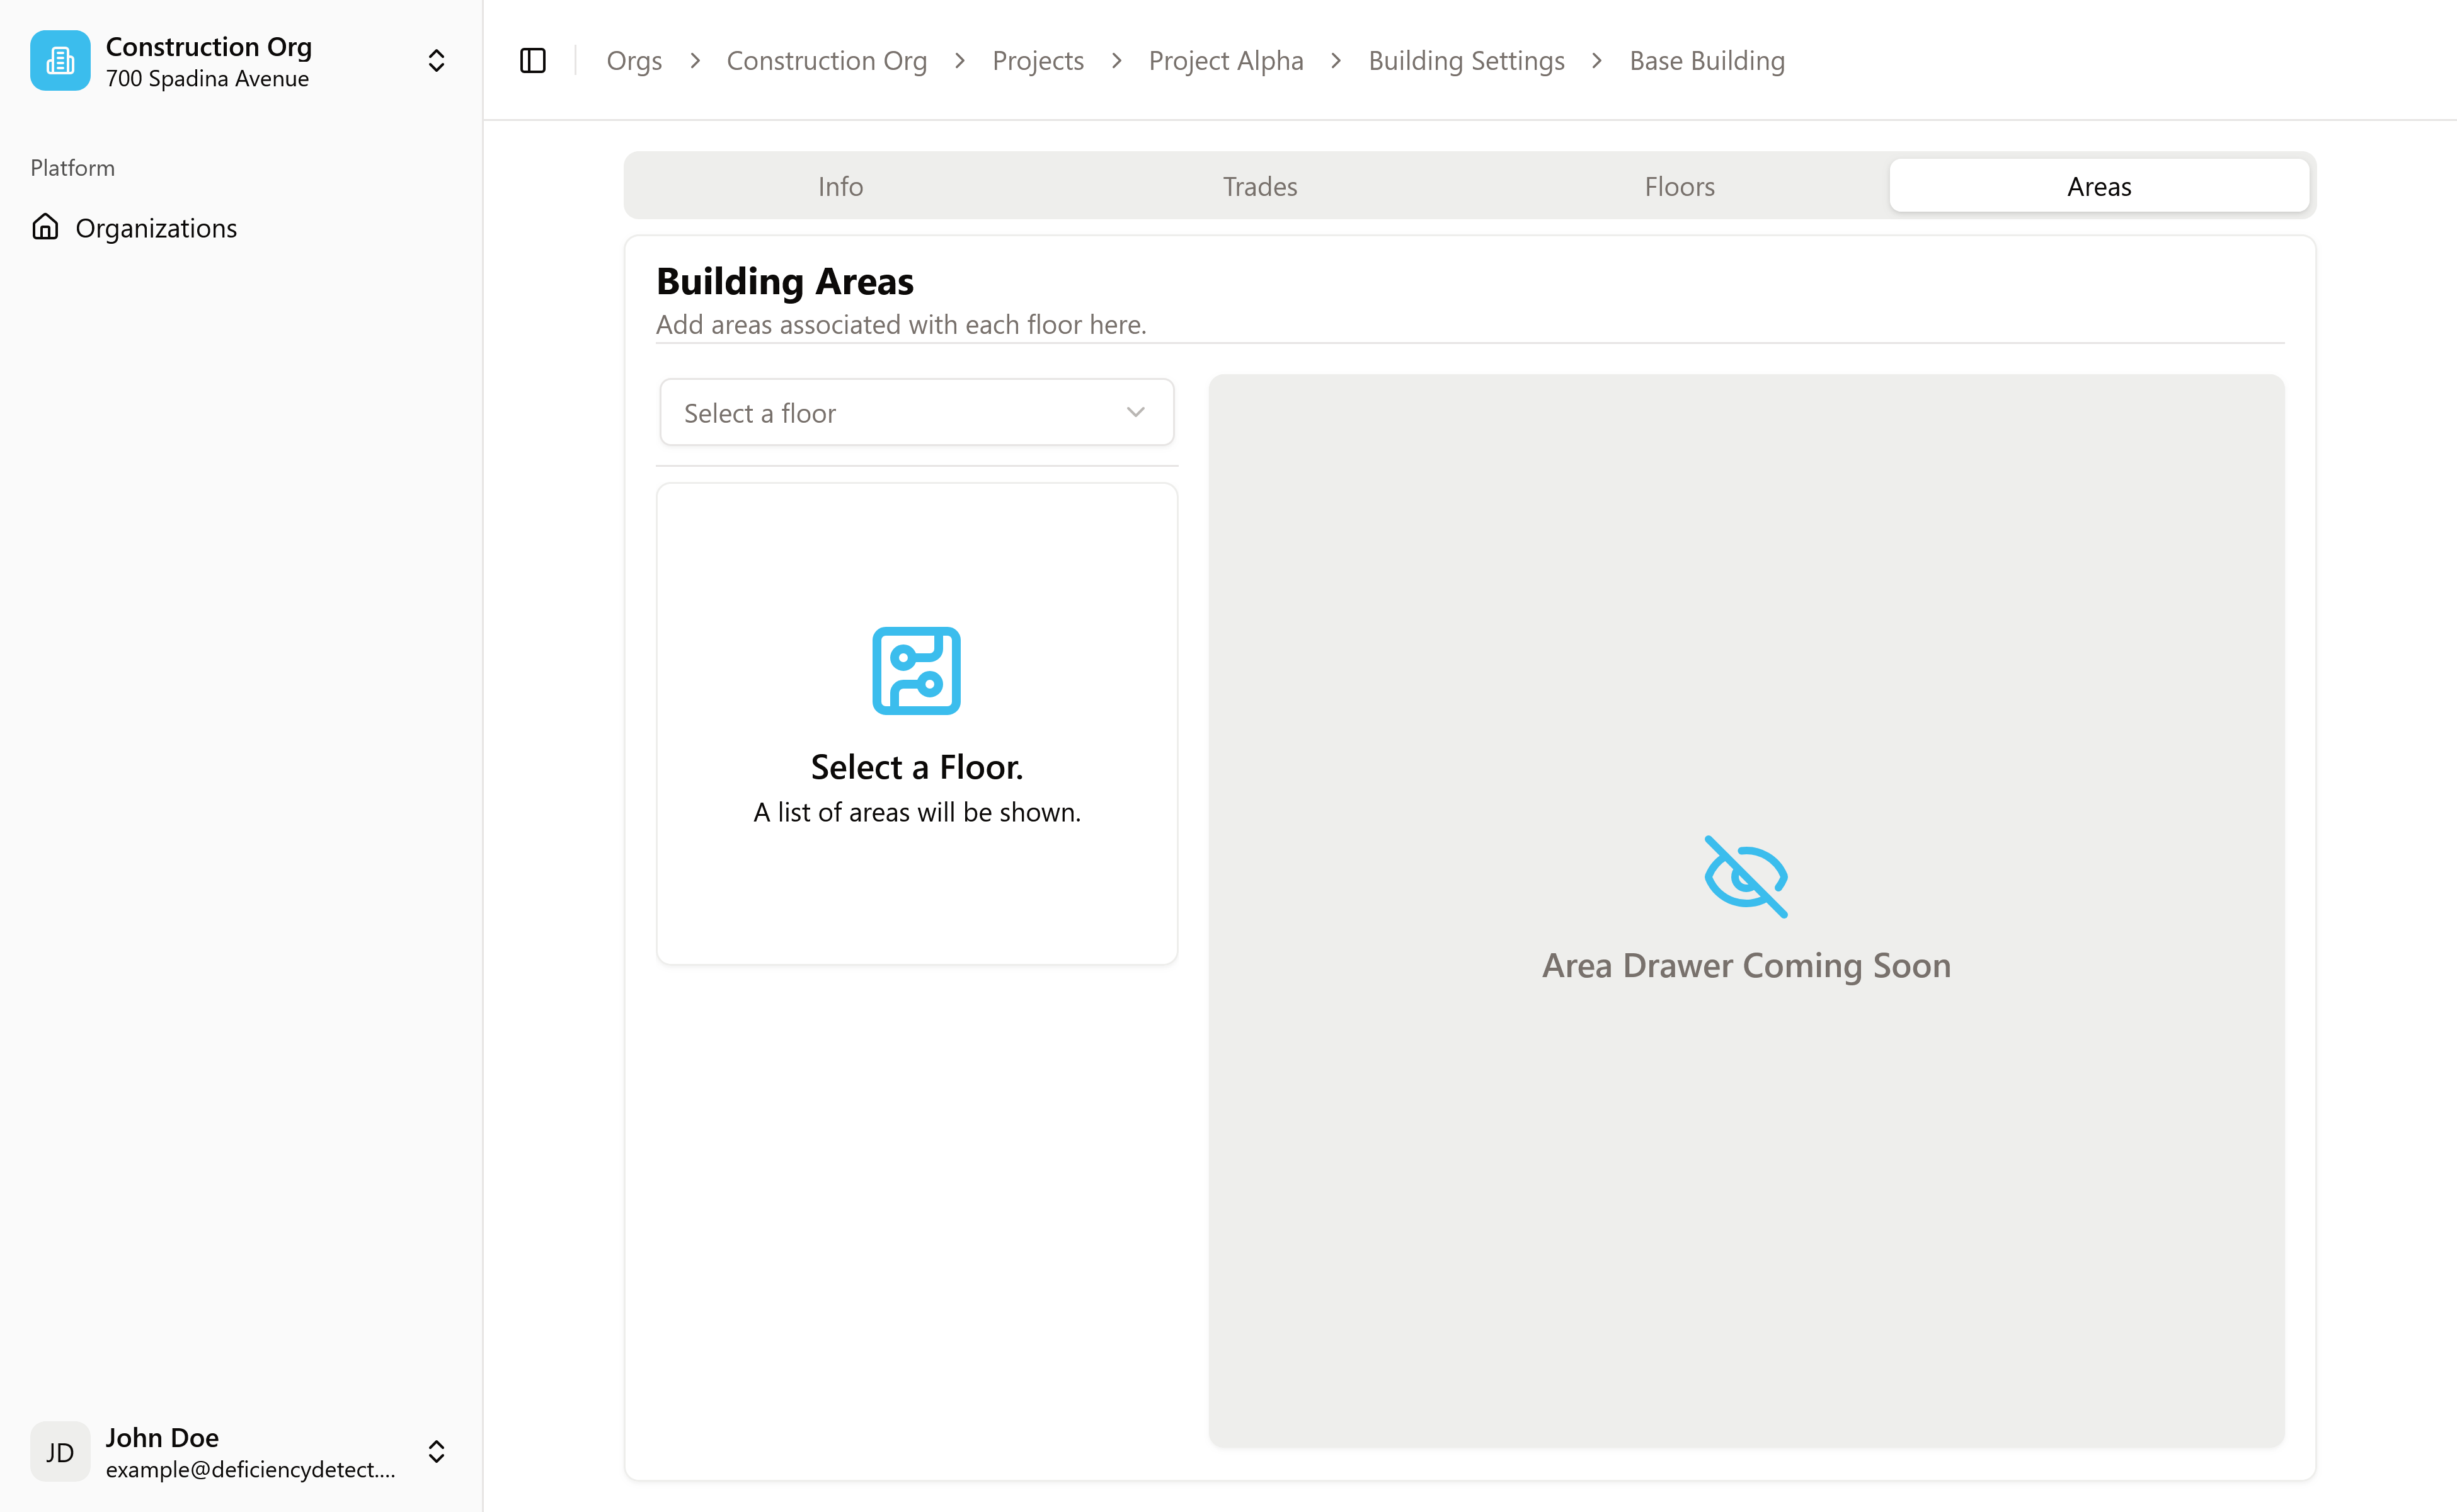
Once your floors are added, you can begin defining specific areas within them. In the Areas section, you will see a dropdown menu labeled "Select a floor".
- Click this dropdown and choose the floor for which you want to define areas.

Add Areas to the Selected Floor
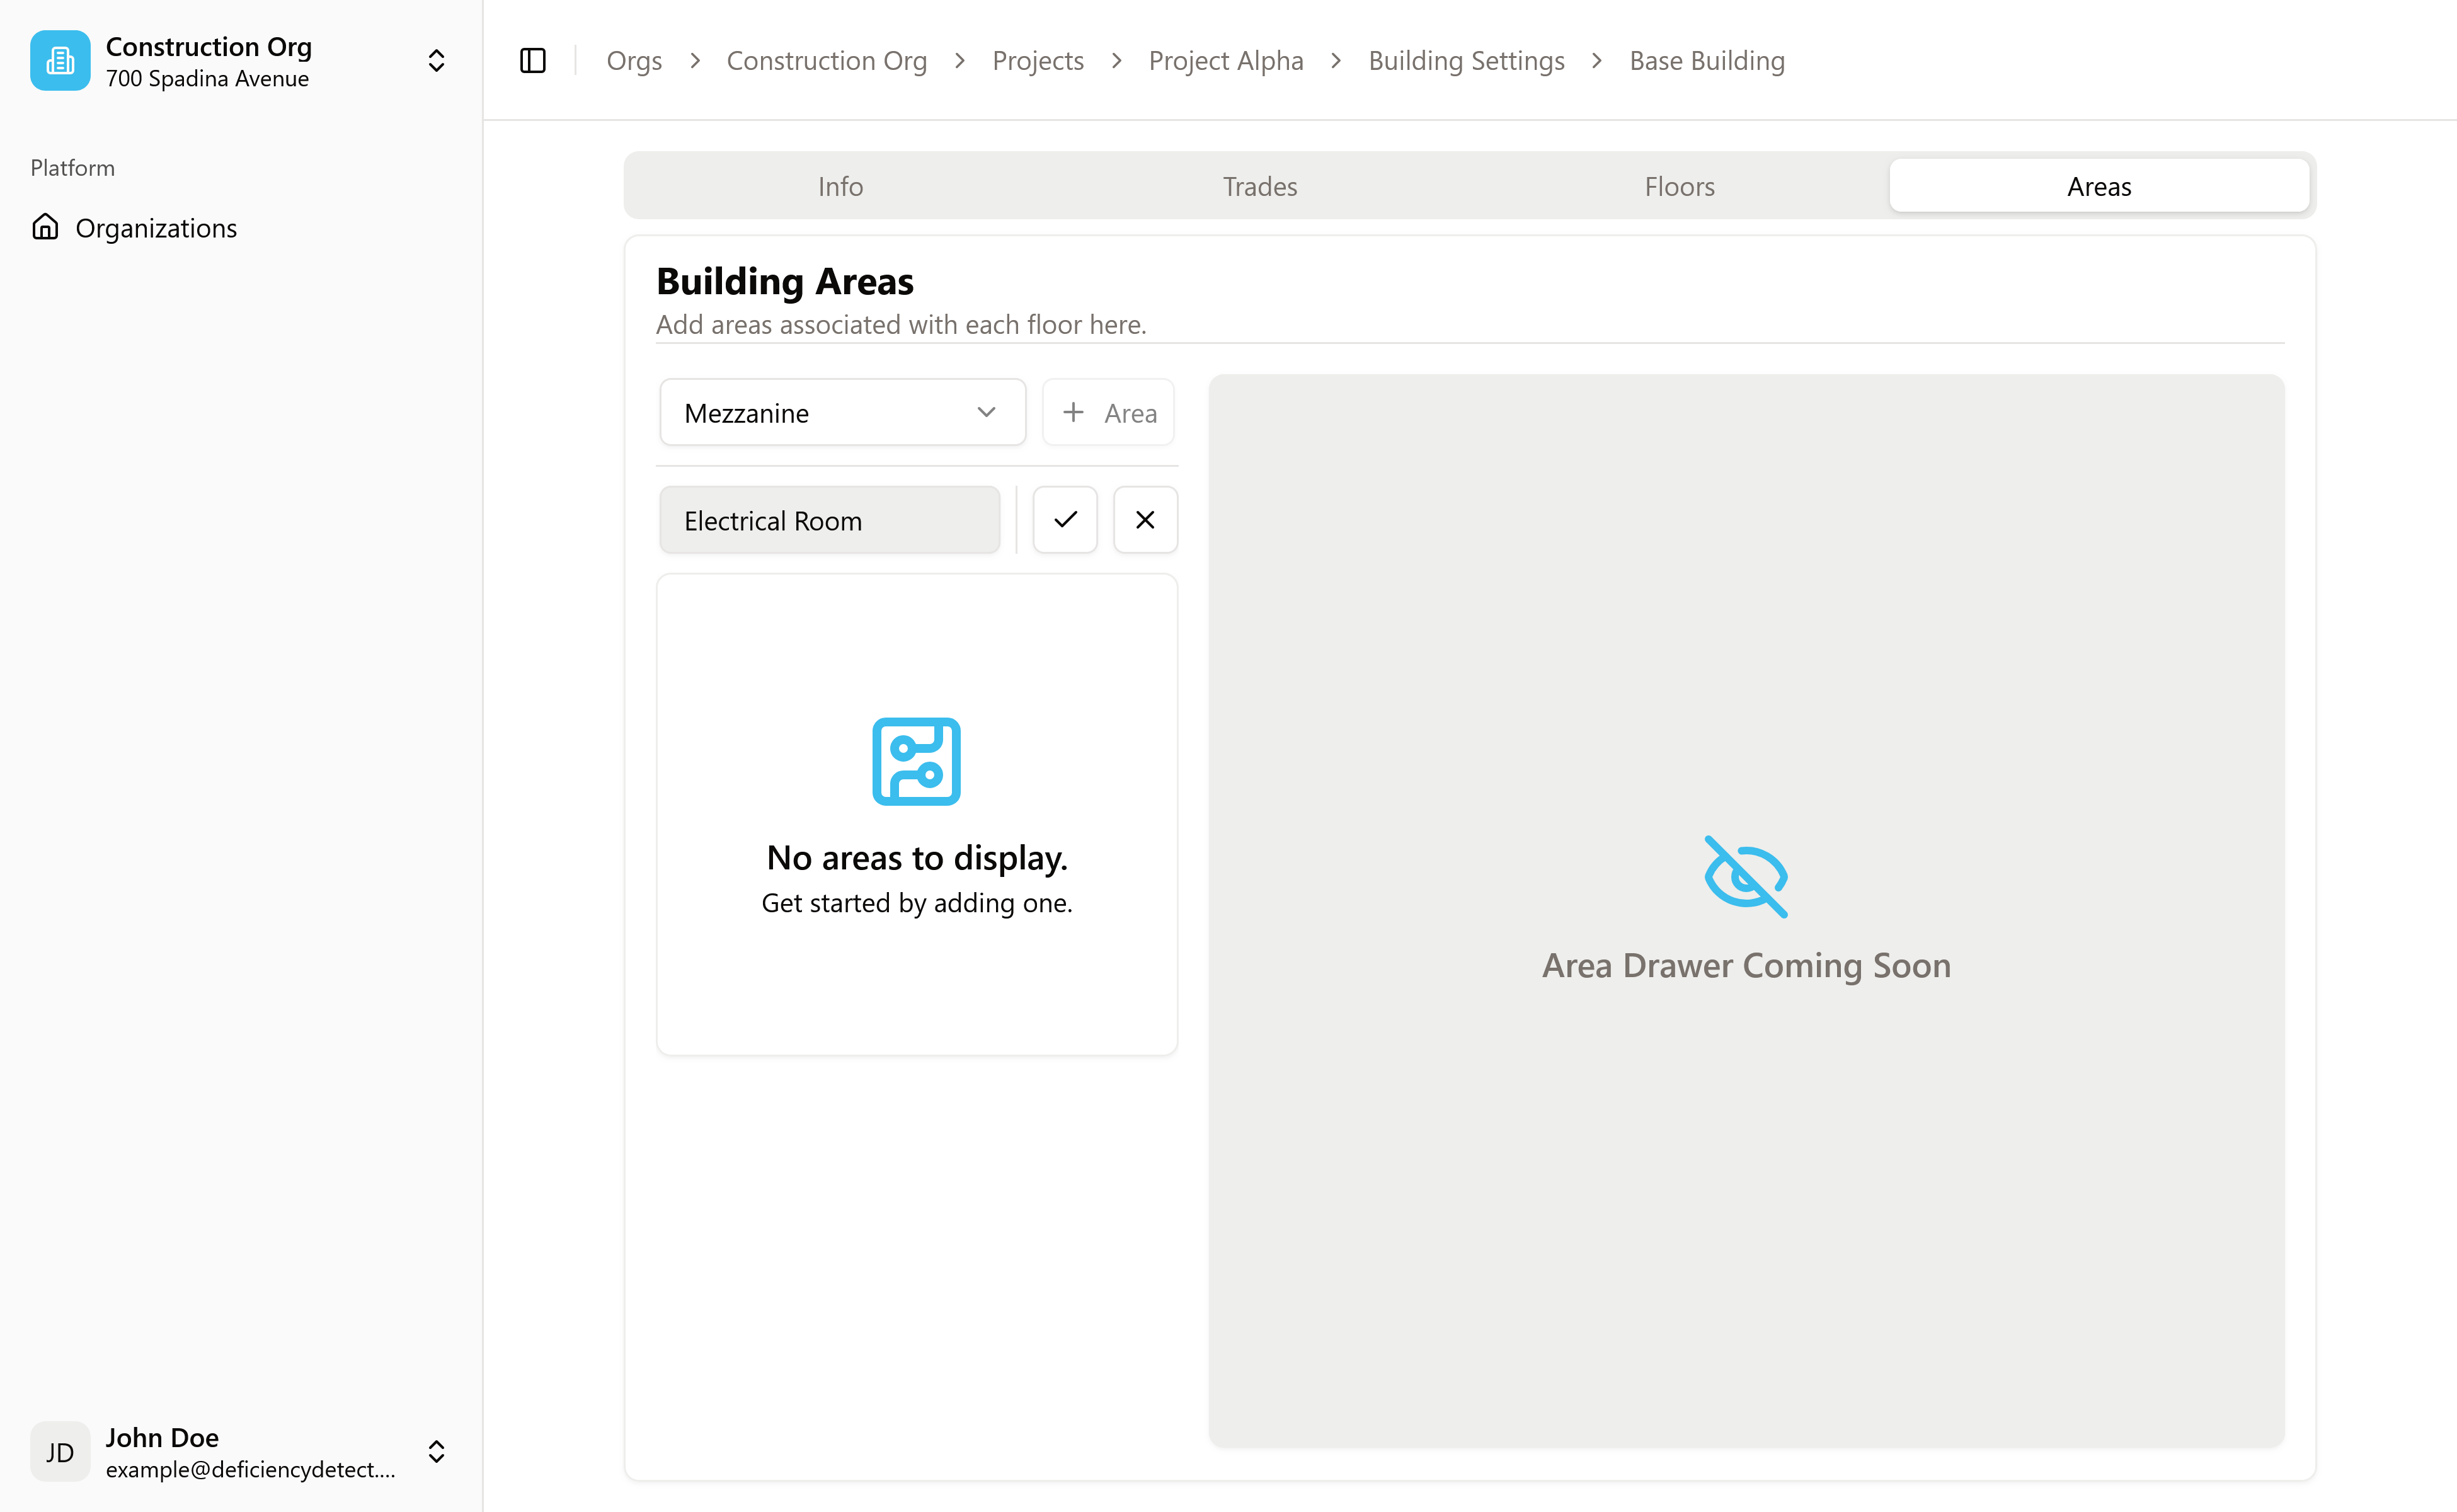
After selecting a floor, you can now add the specific areas within that level.
- Refer to your Architectural Drawings for the precise names of areas.
- Type each area name into the input field and press Enter.
- Naming Recommendation:
- For common areas like "Electrical Room", "Corridor A", or "Stairwell", use the full descriptive name without including the floor number (e.g., "Electrical Room" instead of "Floor 1 Electrical Room"). The system already associates it with the selected floor.
- For units or numbered spaces (e.g., "101" meaning Floor 1, Unit 01), we recommend inputting only the unit number or identifier (e.g., "01", "02", "15B") to keep it concise.
- We recommend inputting every area that you would like to be trackable for deficiencies to ensure comprehensive project coverage. As each area is added, the list for that floor will update.

Copy Areas to Other Floors (Optional)
For buildings with repetitive floor layouts, you can save significant time using the "Copy" feature.
- After you've defined areas for one common floor, locate the "Copy" button.
- Click this button to copy the areas from the current floor to other selected floors that share the same layout. This ensures consistency and dramatically speeds up the setup process for multi-story buildings.