Trade Members
Learn how to add and manage trades for a specific building, invite trade-specific members, and enable automated deficiency notifications in Deficiency Detect.
Trades Tab
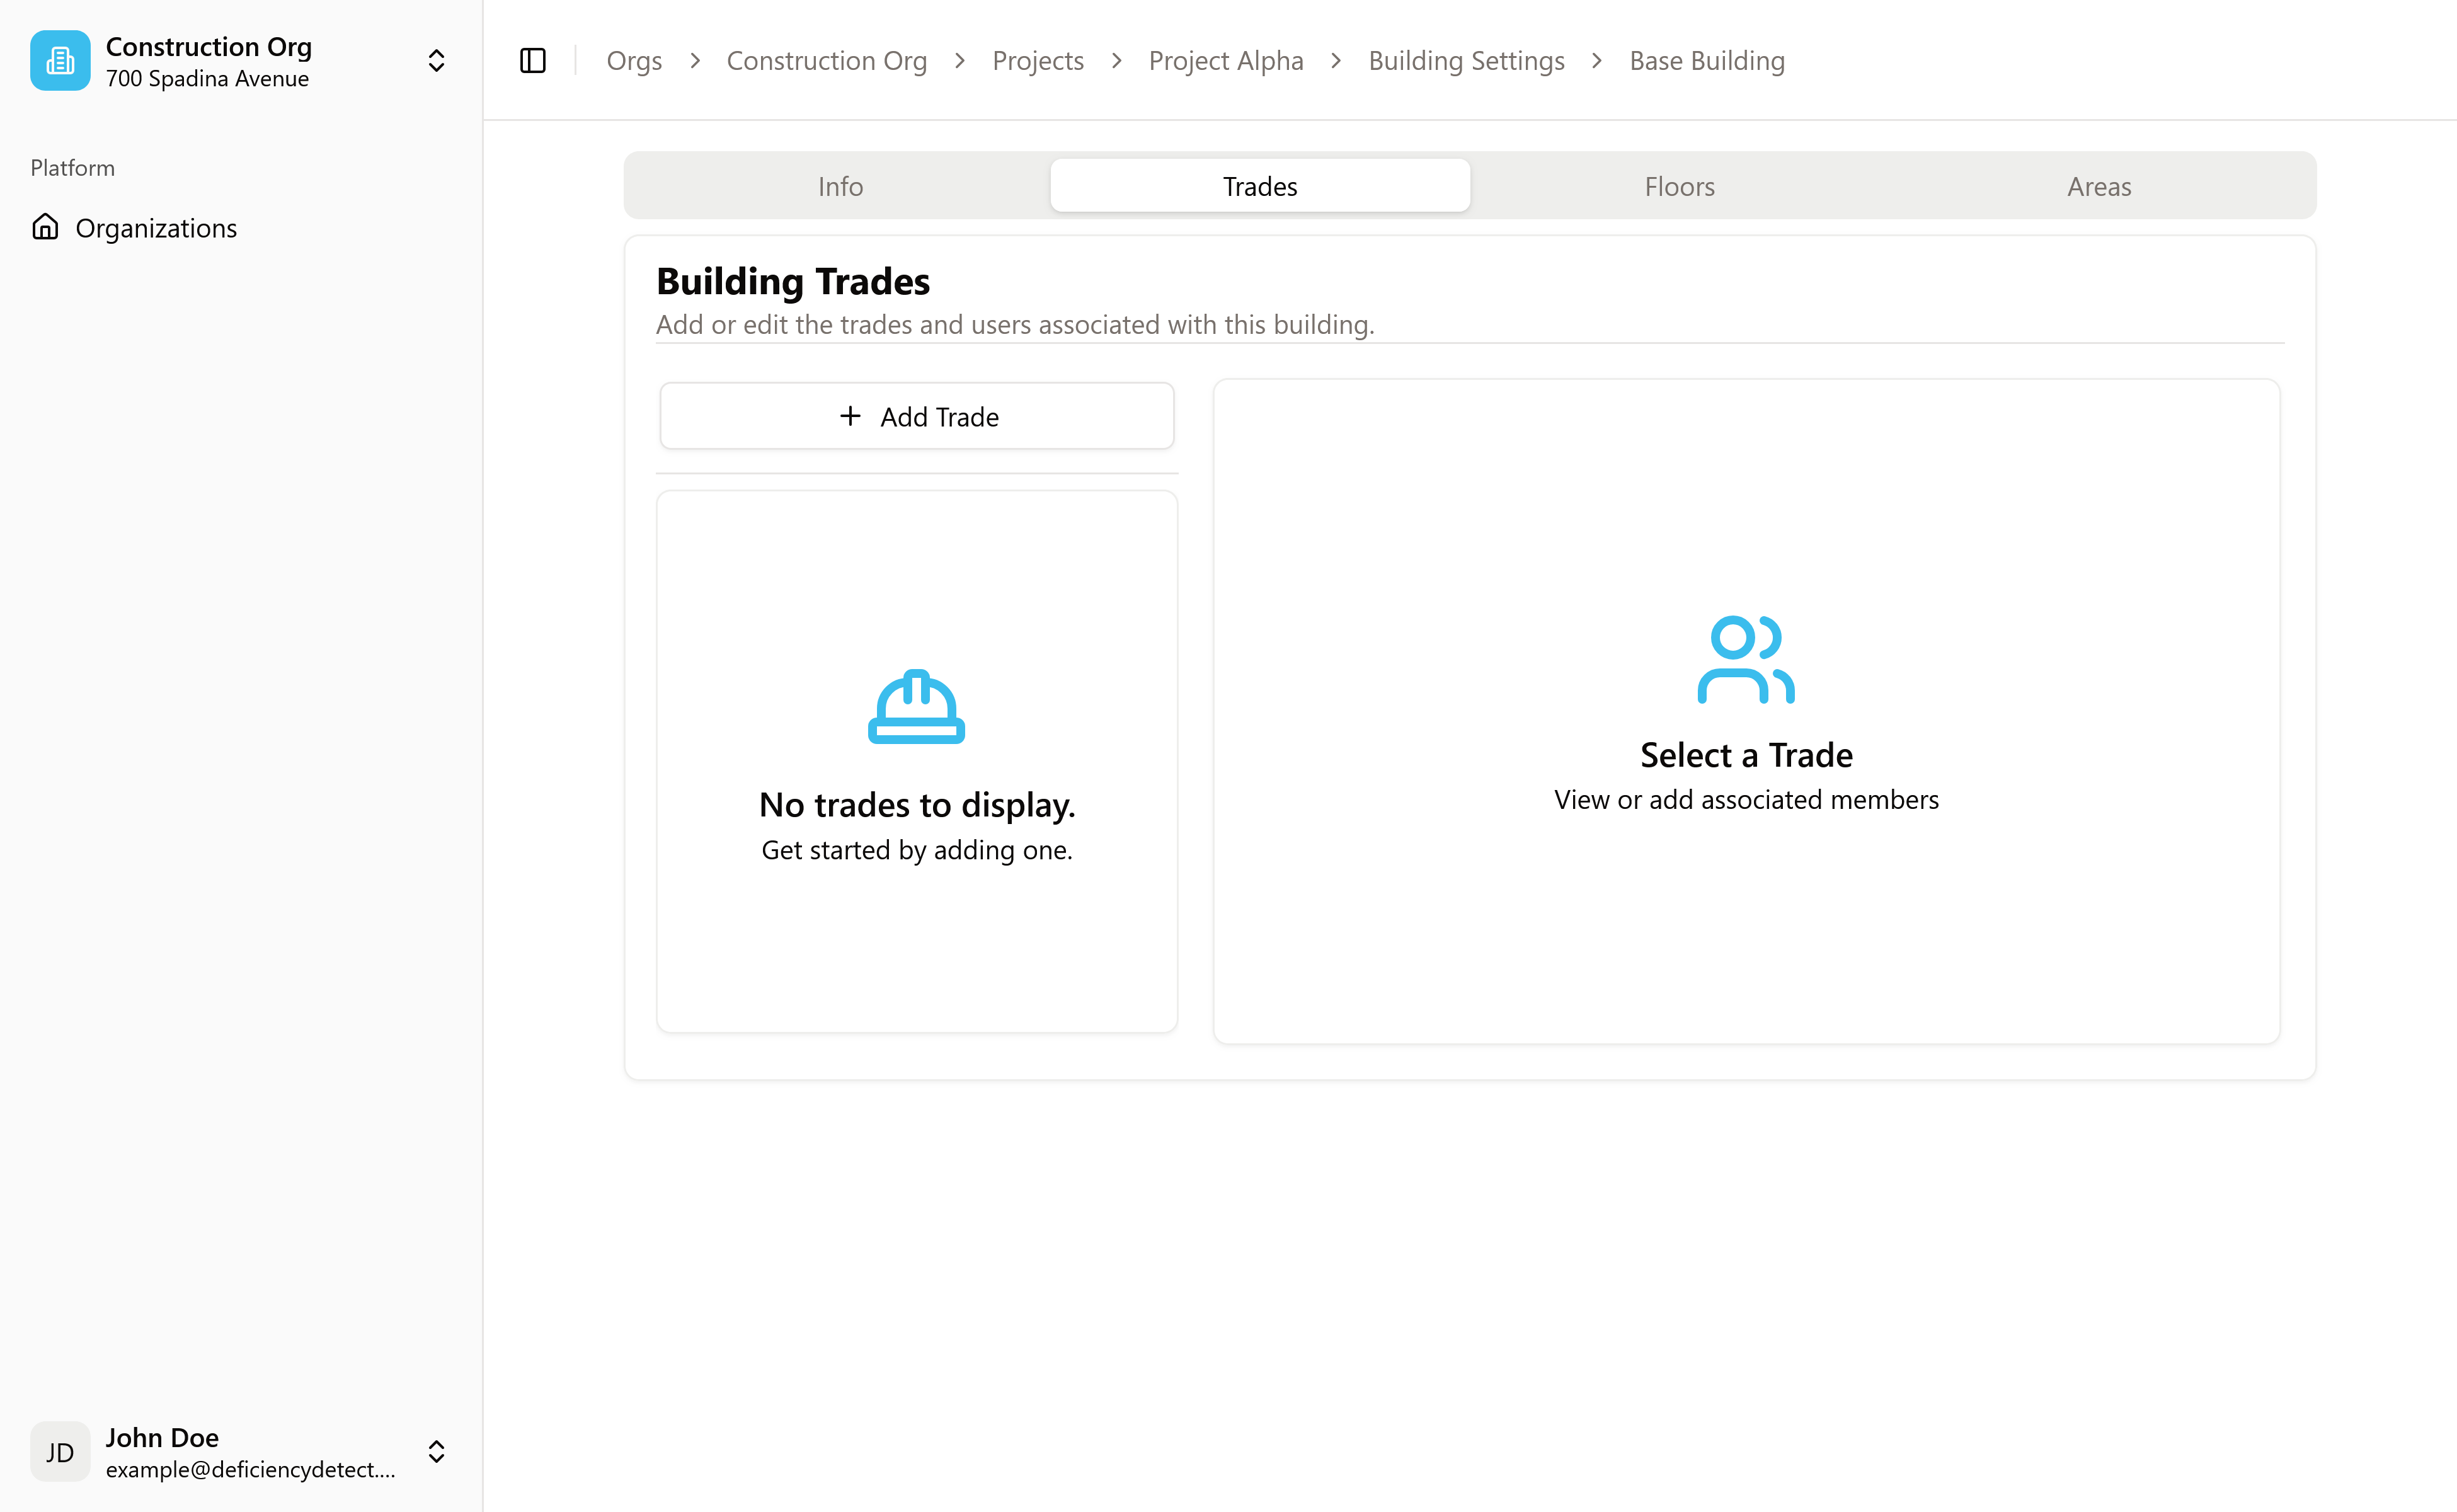
The Trades Tab within your Building Settings is where you define the different trades working on a specific building and invite their key personnel. This setup is critical for assigning deficiencies correctly and ensuring automated notifications reach the right people.
Navigate to the Trades Tab
From the Building Settings page (accessed by selecting a project, then a building, and clicking its "Settings" button), click on the "Trades" tab.

Add Trades to the Building
On the Trades tab, you'll find a button or input labeled "Add Trade".
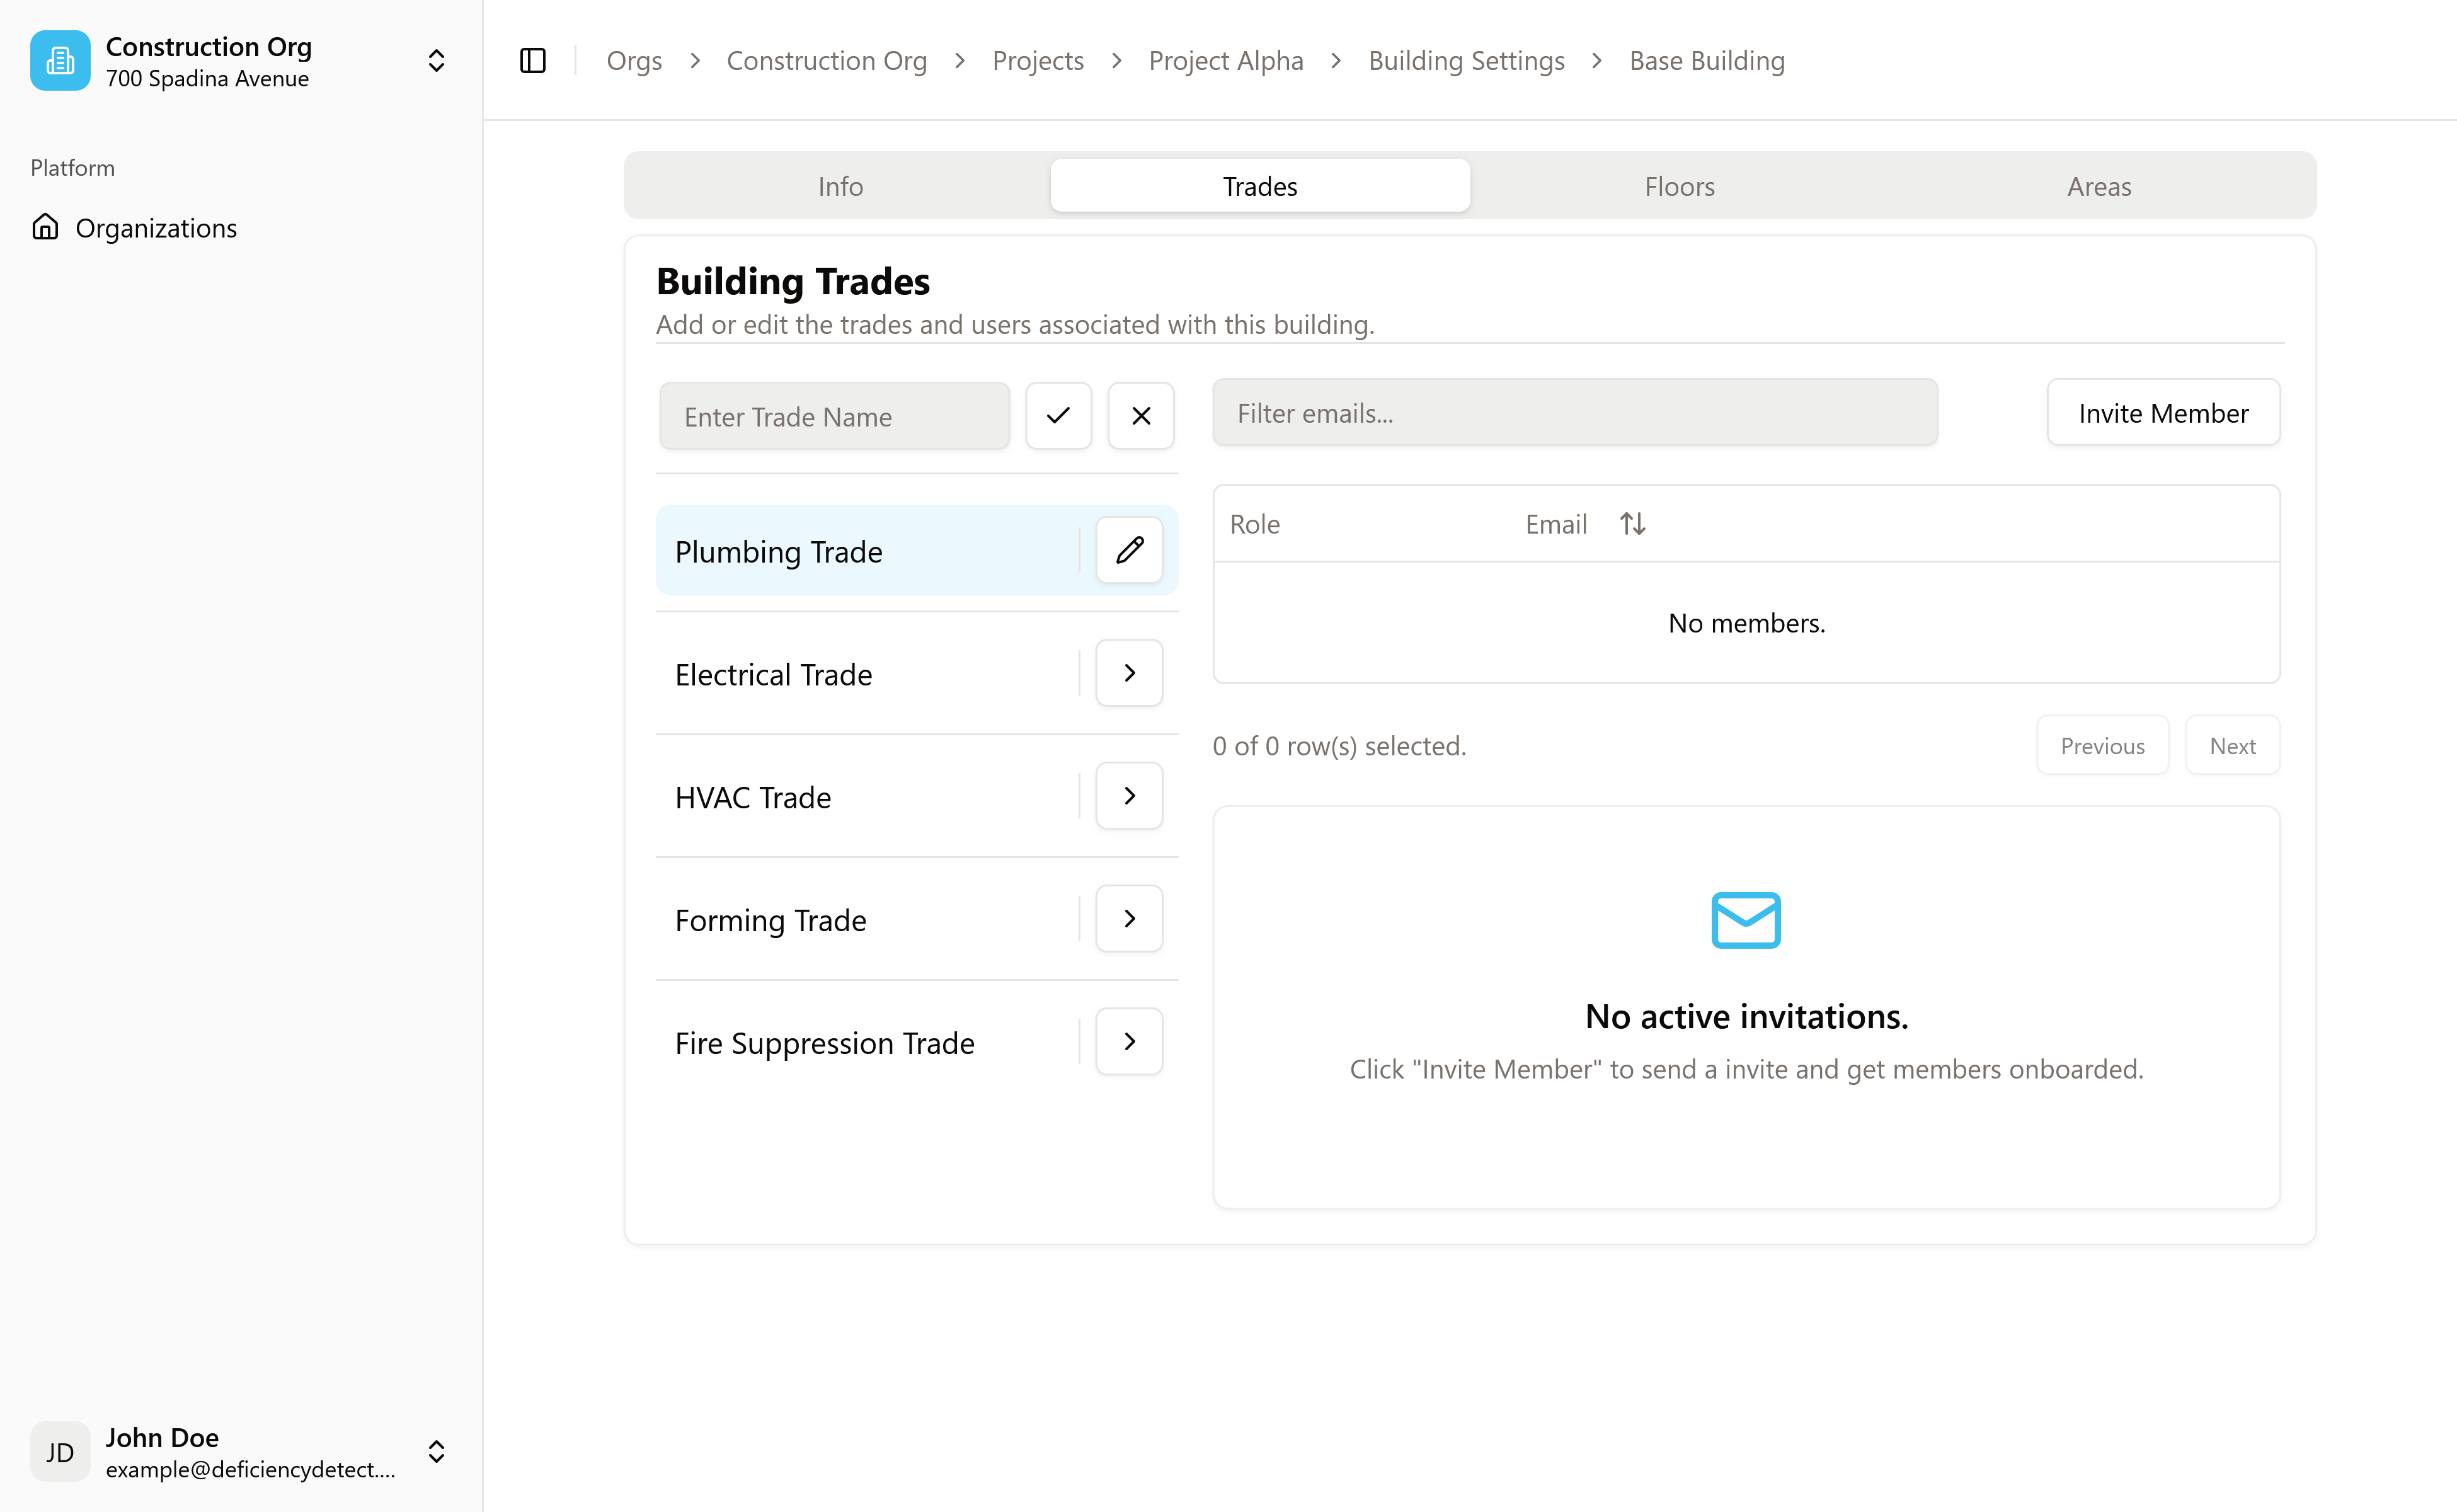
- Click this button, or simply type the name of a trade (e.g., "Framing", "Plumbing", "Electrical") into the input field and press Enter.
- This is designed for quickly adding multiple trades. We recommend adding all trades expected to be on-site up front. Each trade you add will be available for assignment when logging deficiencies. More trades can always be added later if needed.

Invite Trade Members
Once you've added at least one trade, the list will update to show all active trades. You can then click on a trade list item to view a table of all members currently assigned to that specific trade. Initially, this table will be empty.
In the top-right corner, you'll see an "Invite Member" button.
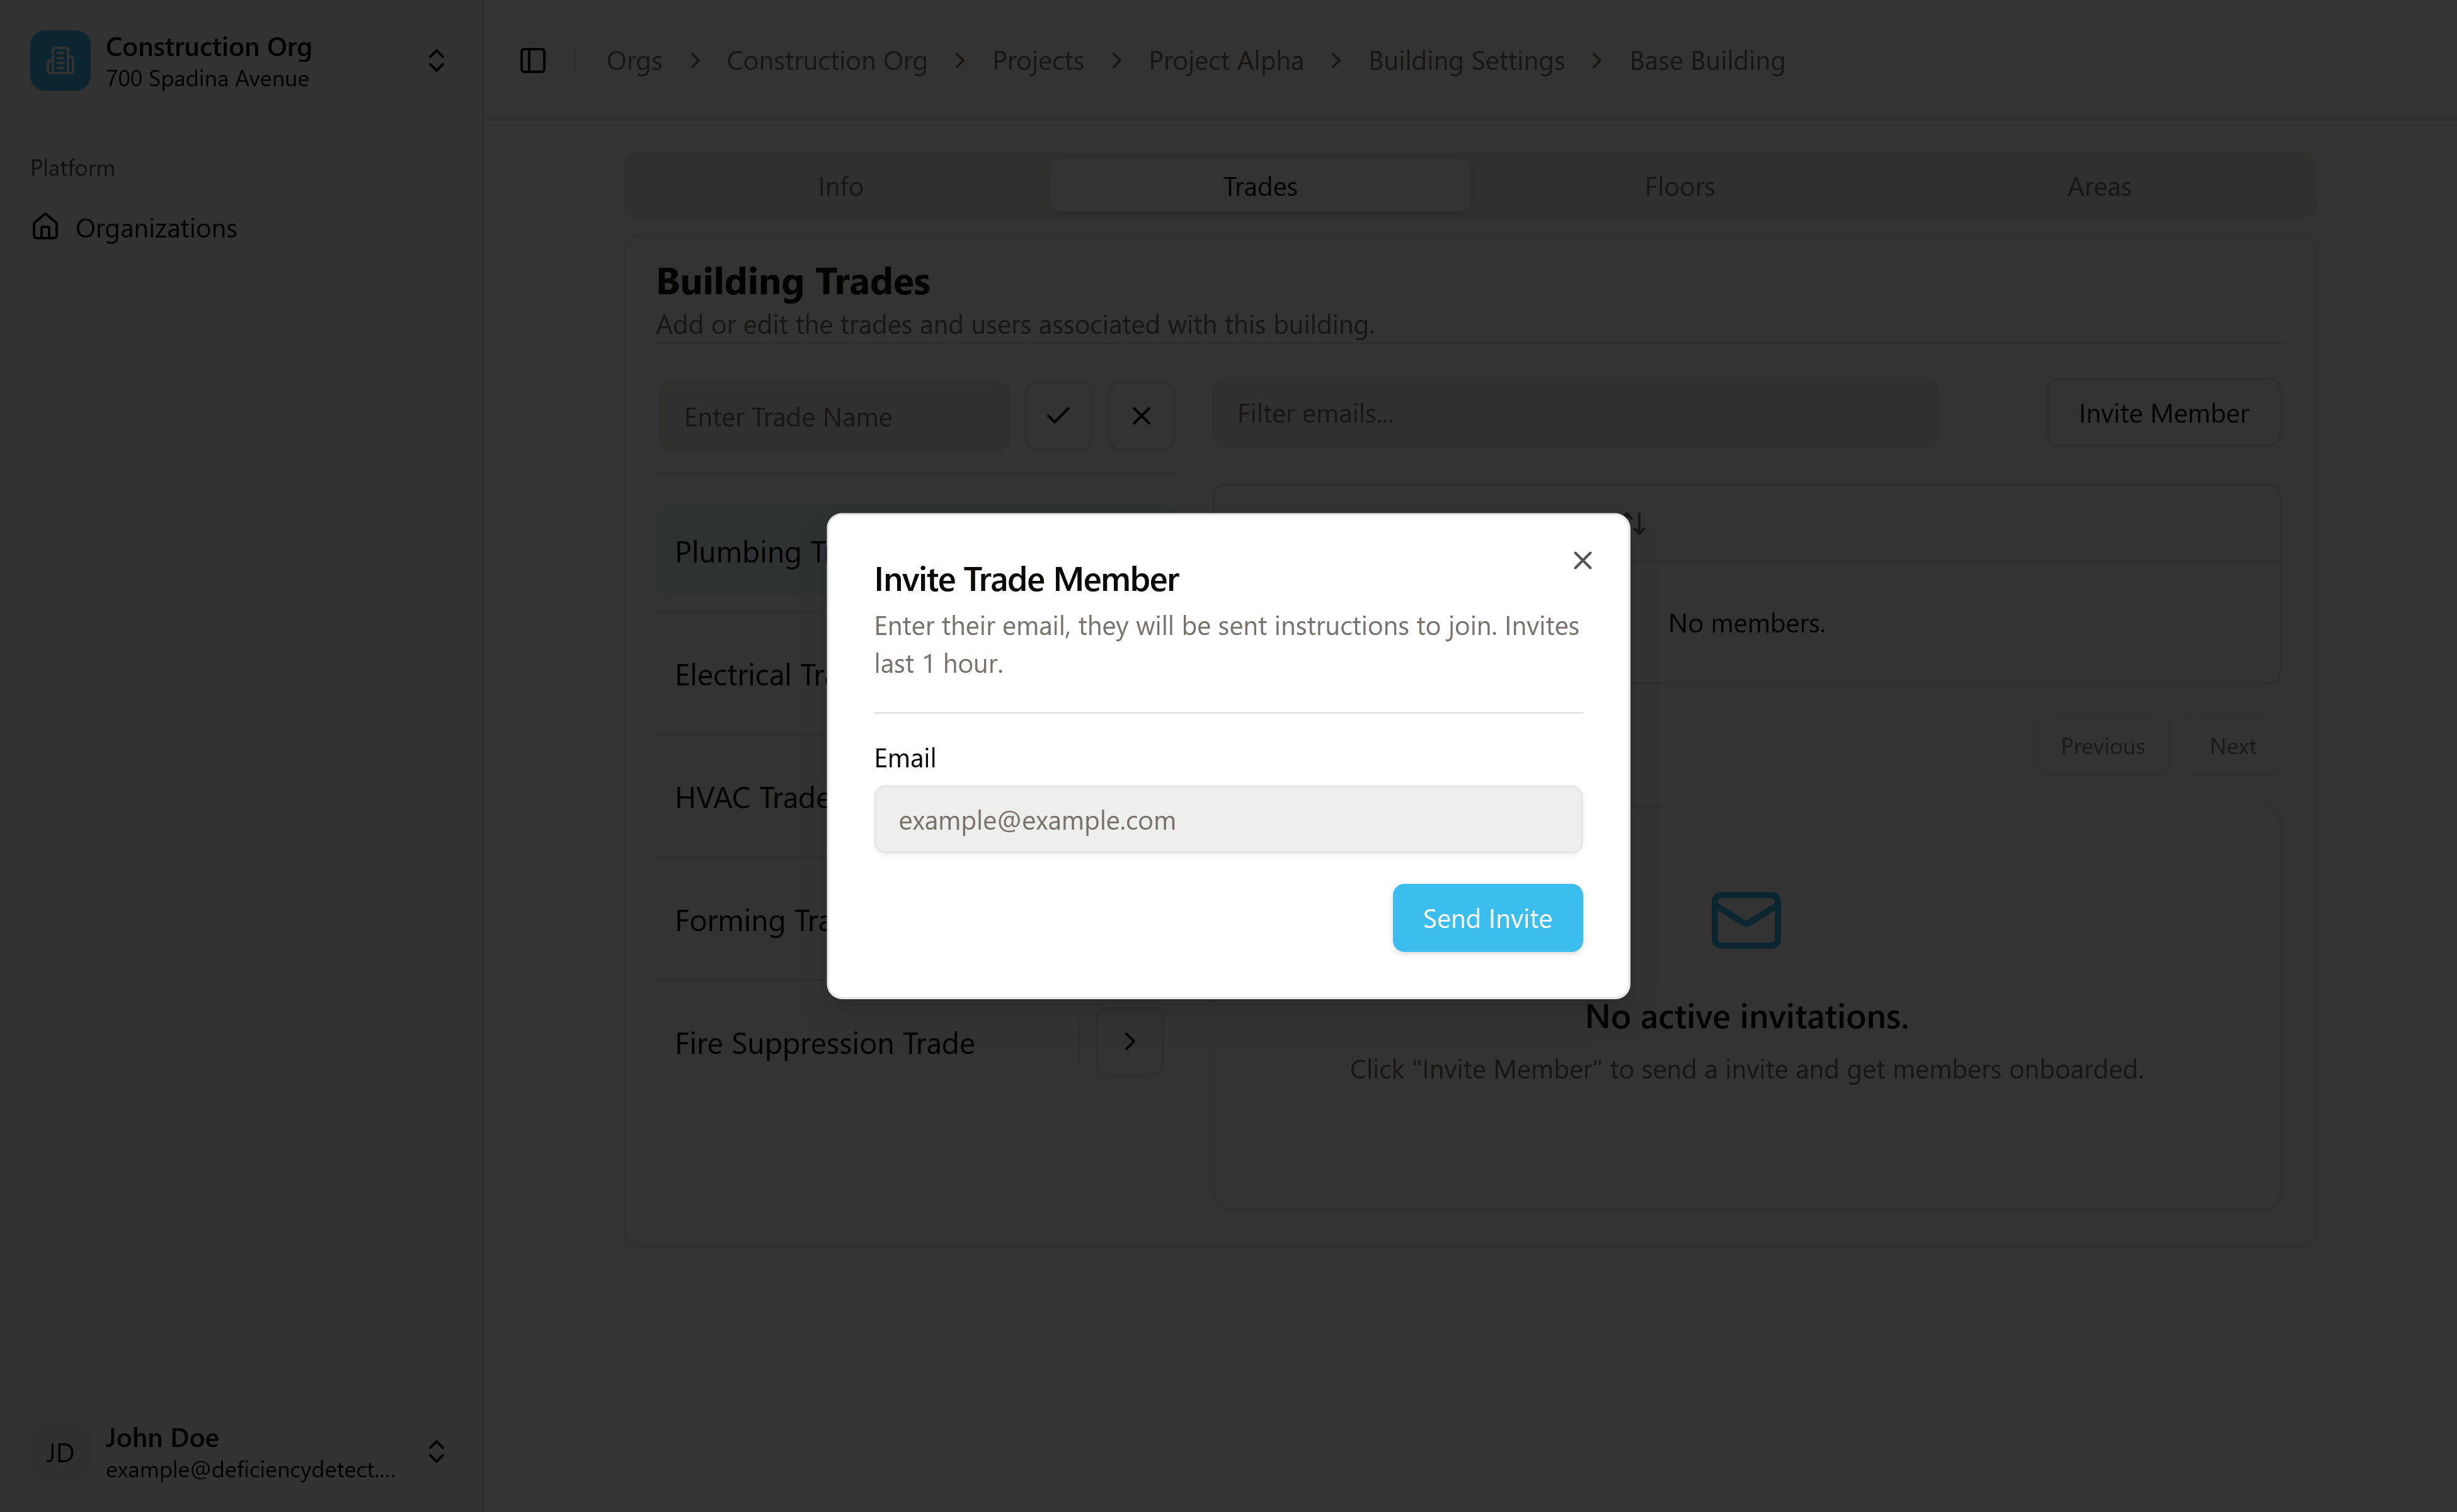
- Click this button to invite new members to this specific building under the selected trade.
- We highly recommend inviting all Foremen and Lead Hands who will be responsible for addressing deficiencies in this building.
- Each invite link sent via email is valid for 1 hour. Invited members receive an email with instructions to join.
- Members invited this way are automatically assigned access only to this building, ensuring precise control over who sees what. This setup is crucial for automated email deficiency notifications and other features to work properly, directly linking issues to the responsible parties.

With your trades and their key members configured, the next critical step is to define the physical layout of your building by adding Floors & Areas.