Creating Projects
A step-by-step guide for Organization Admins on how to create new projects within an organization, including selecting buildings, billing details, and confirming your subscription.
Projects are the core of your work in Deficiency Detect. As an Organization Admin, you can easily create new projects under your organization, defining their scope and billing details.
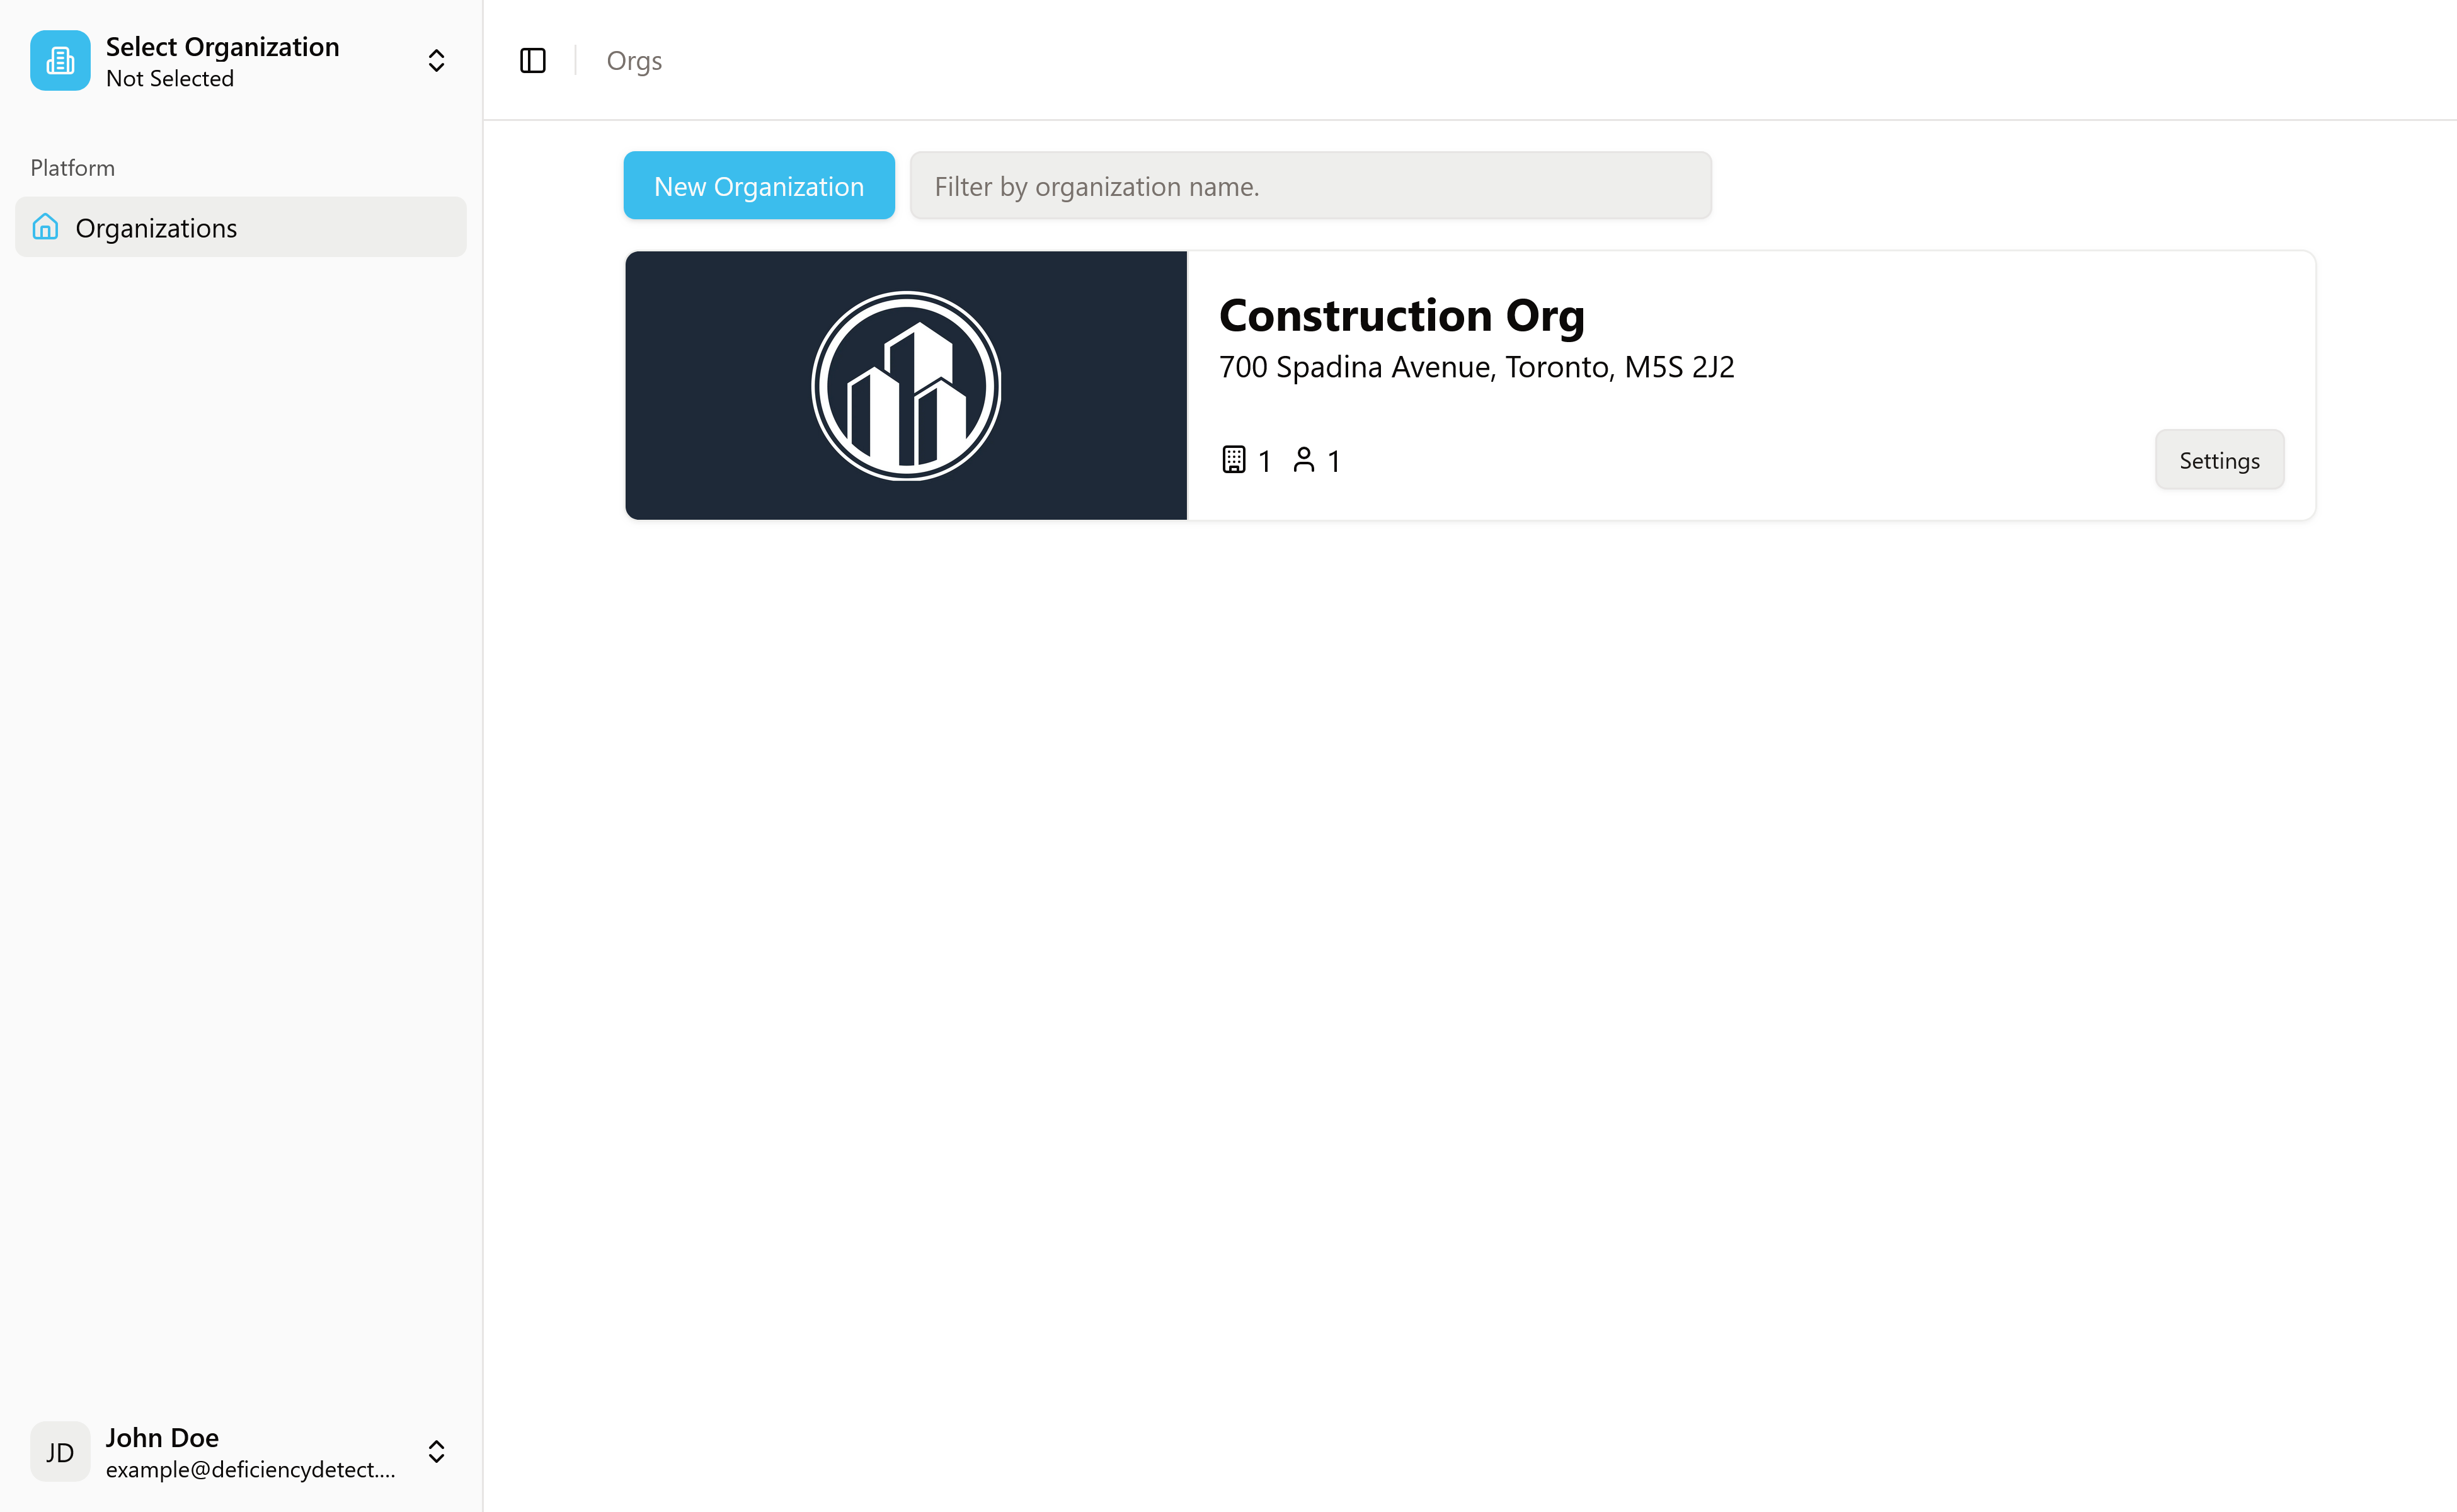
Select an Organization
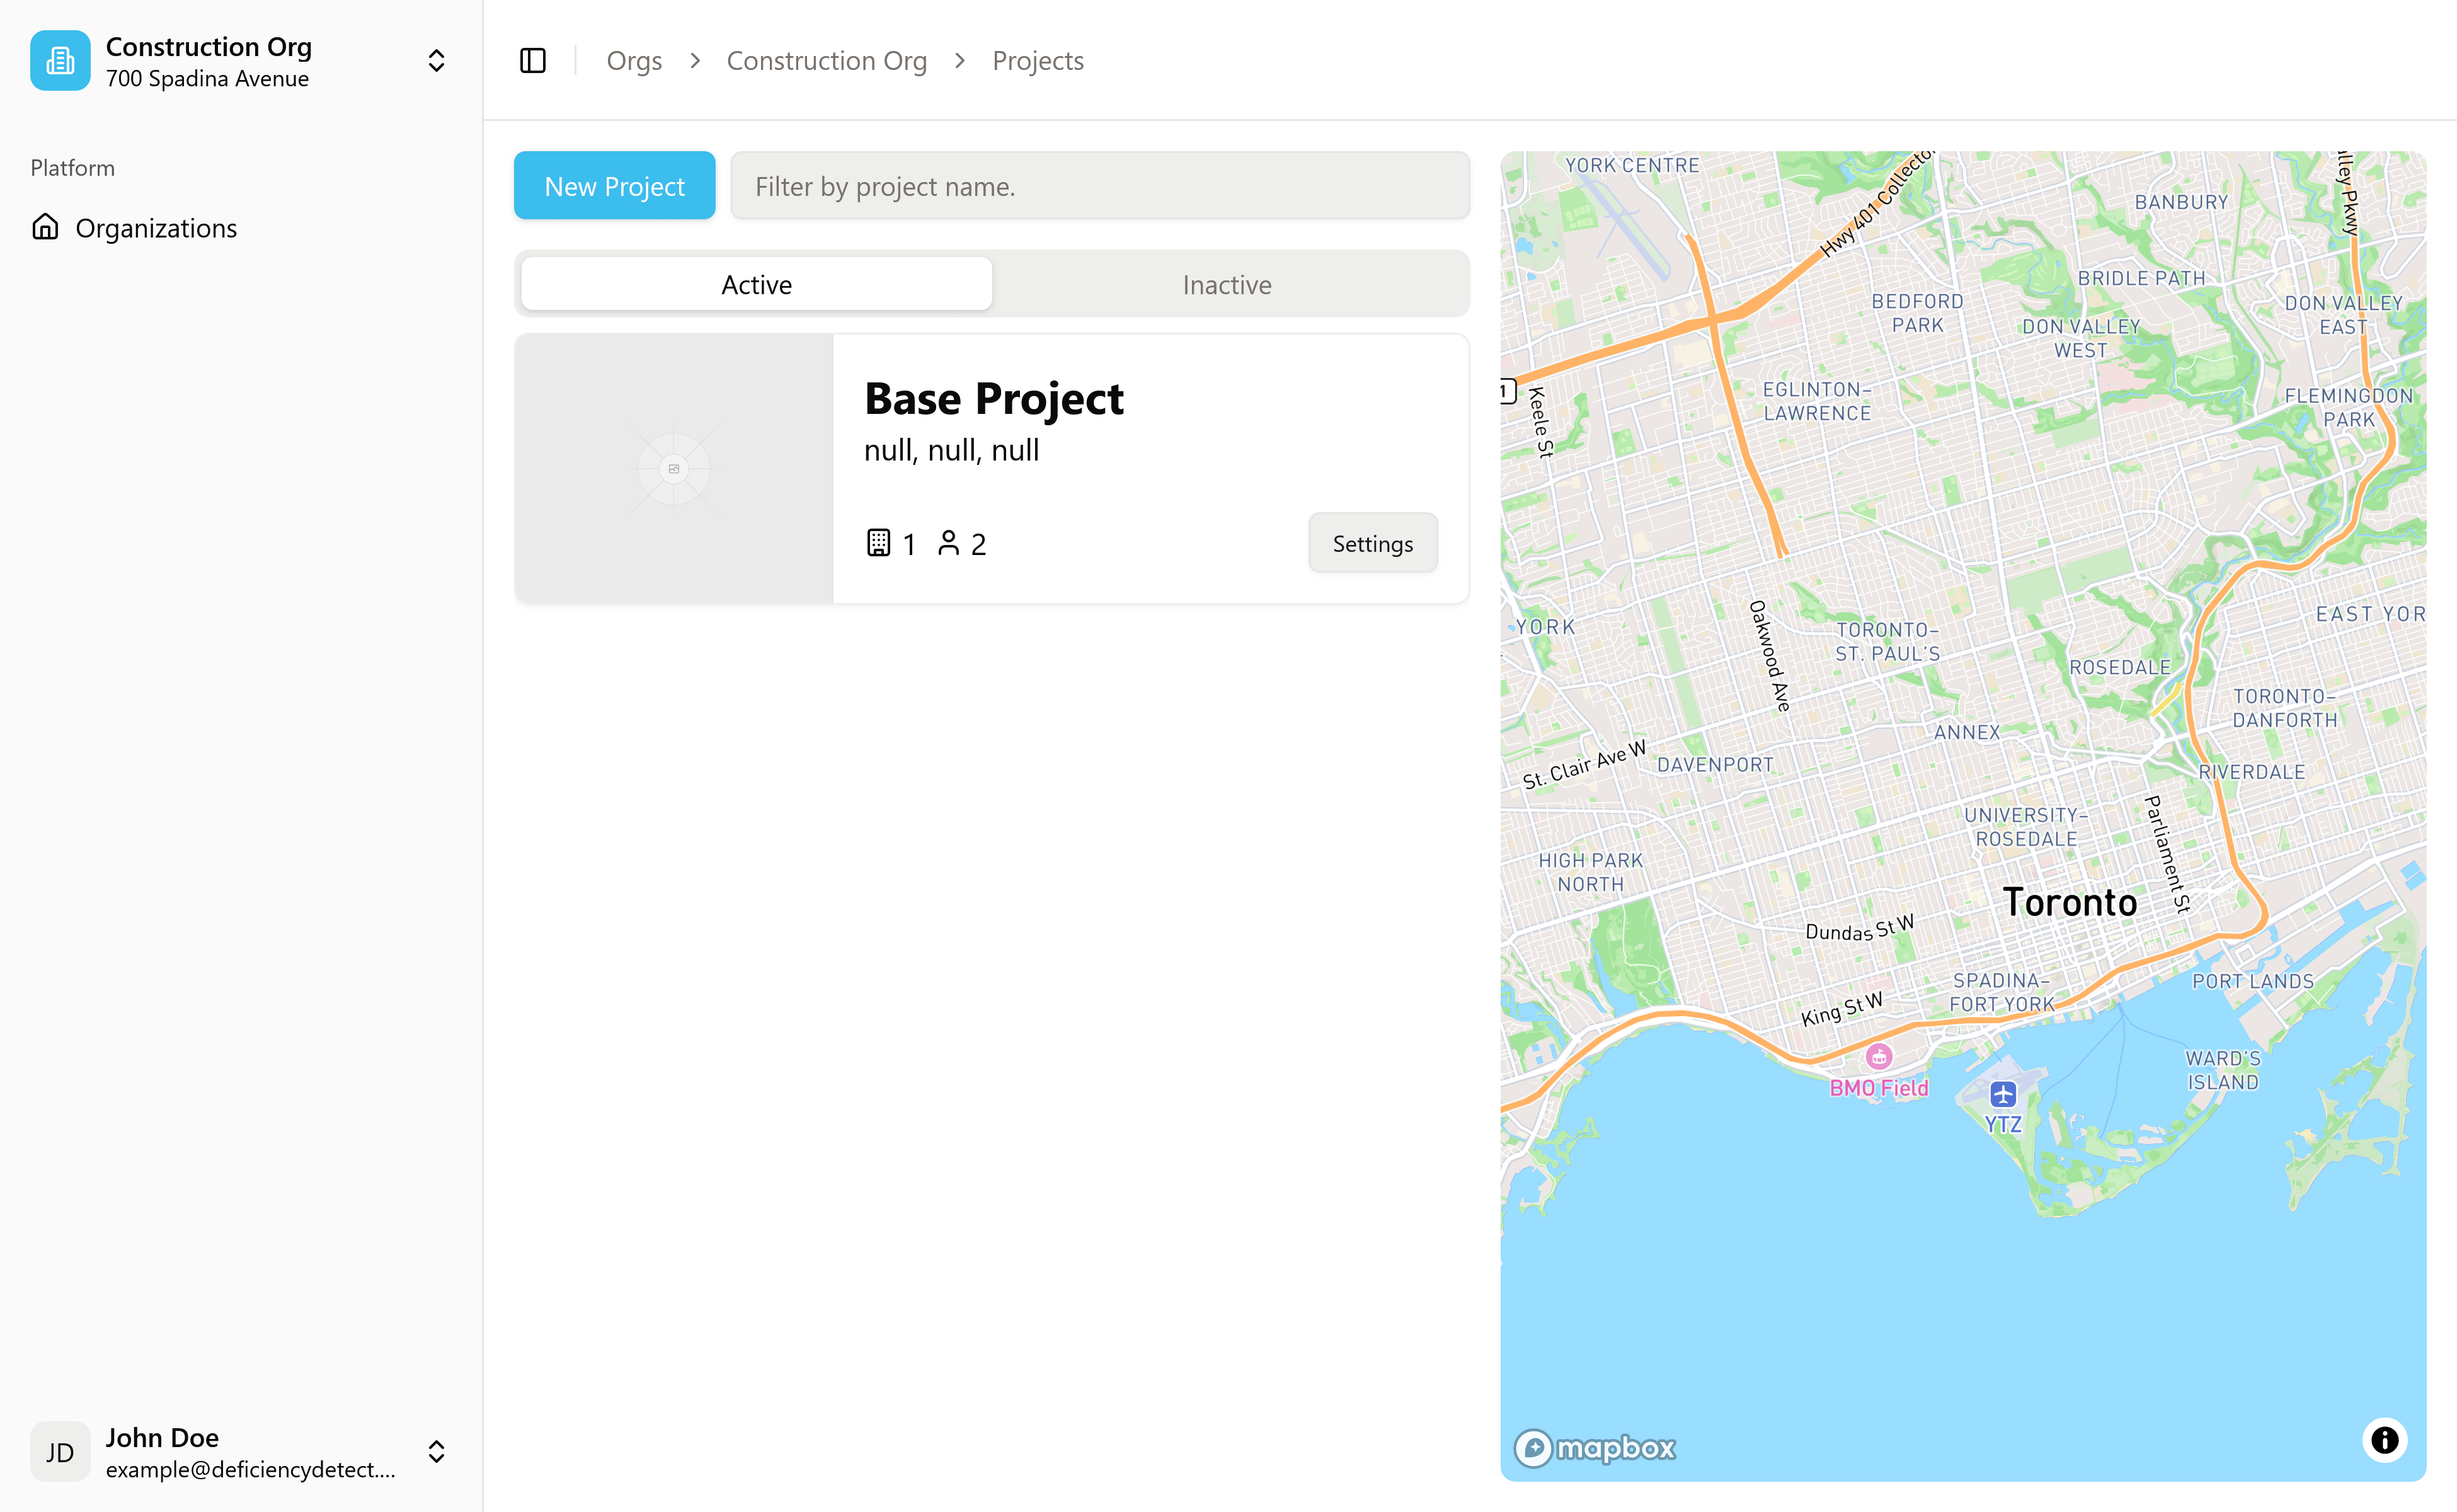
From your Organizations dashboard (/orgs), click on the name of the organization under which you want to create a new project. This will lead you to that specific organization's projects page, where you'll see a list of existing projects.
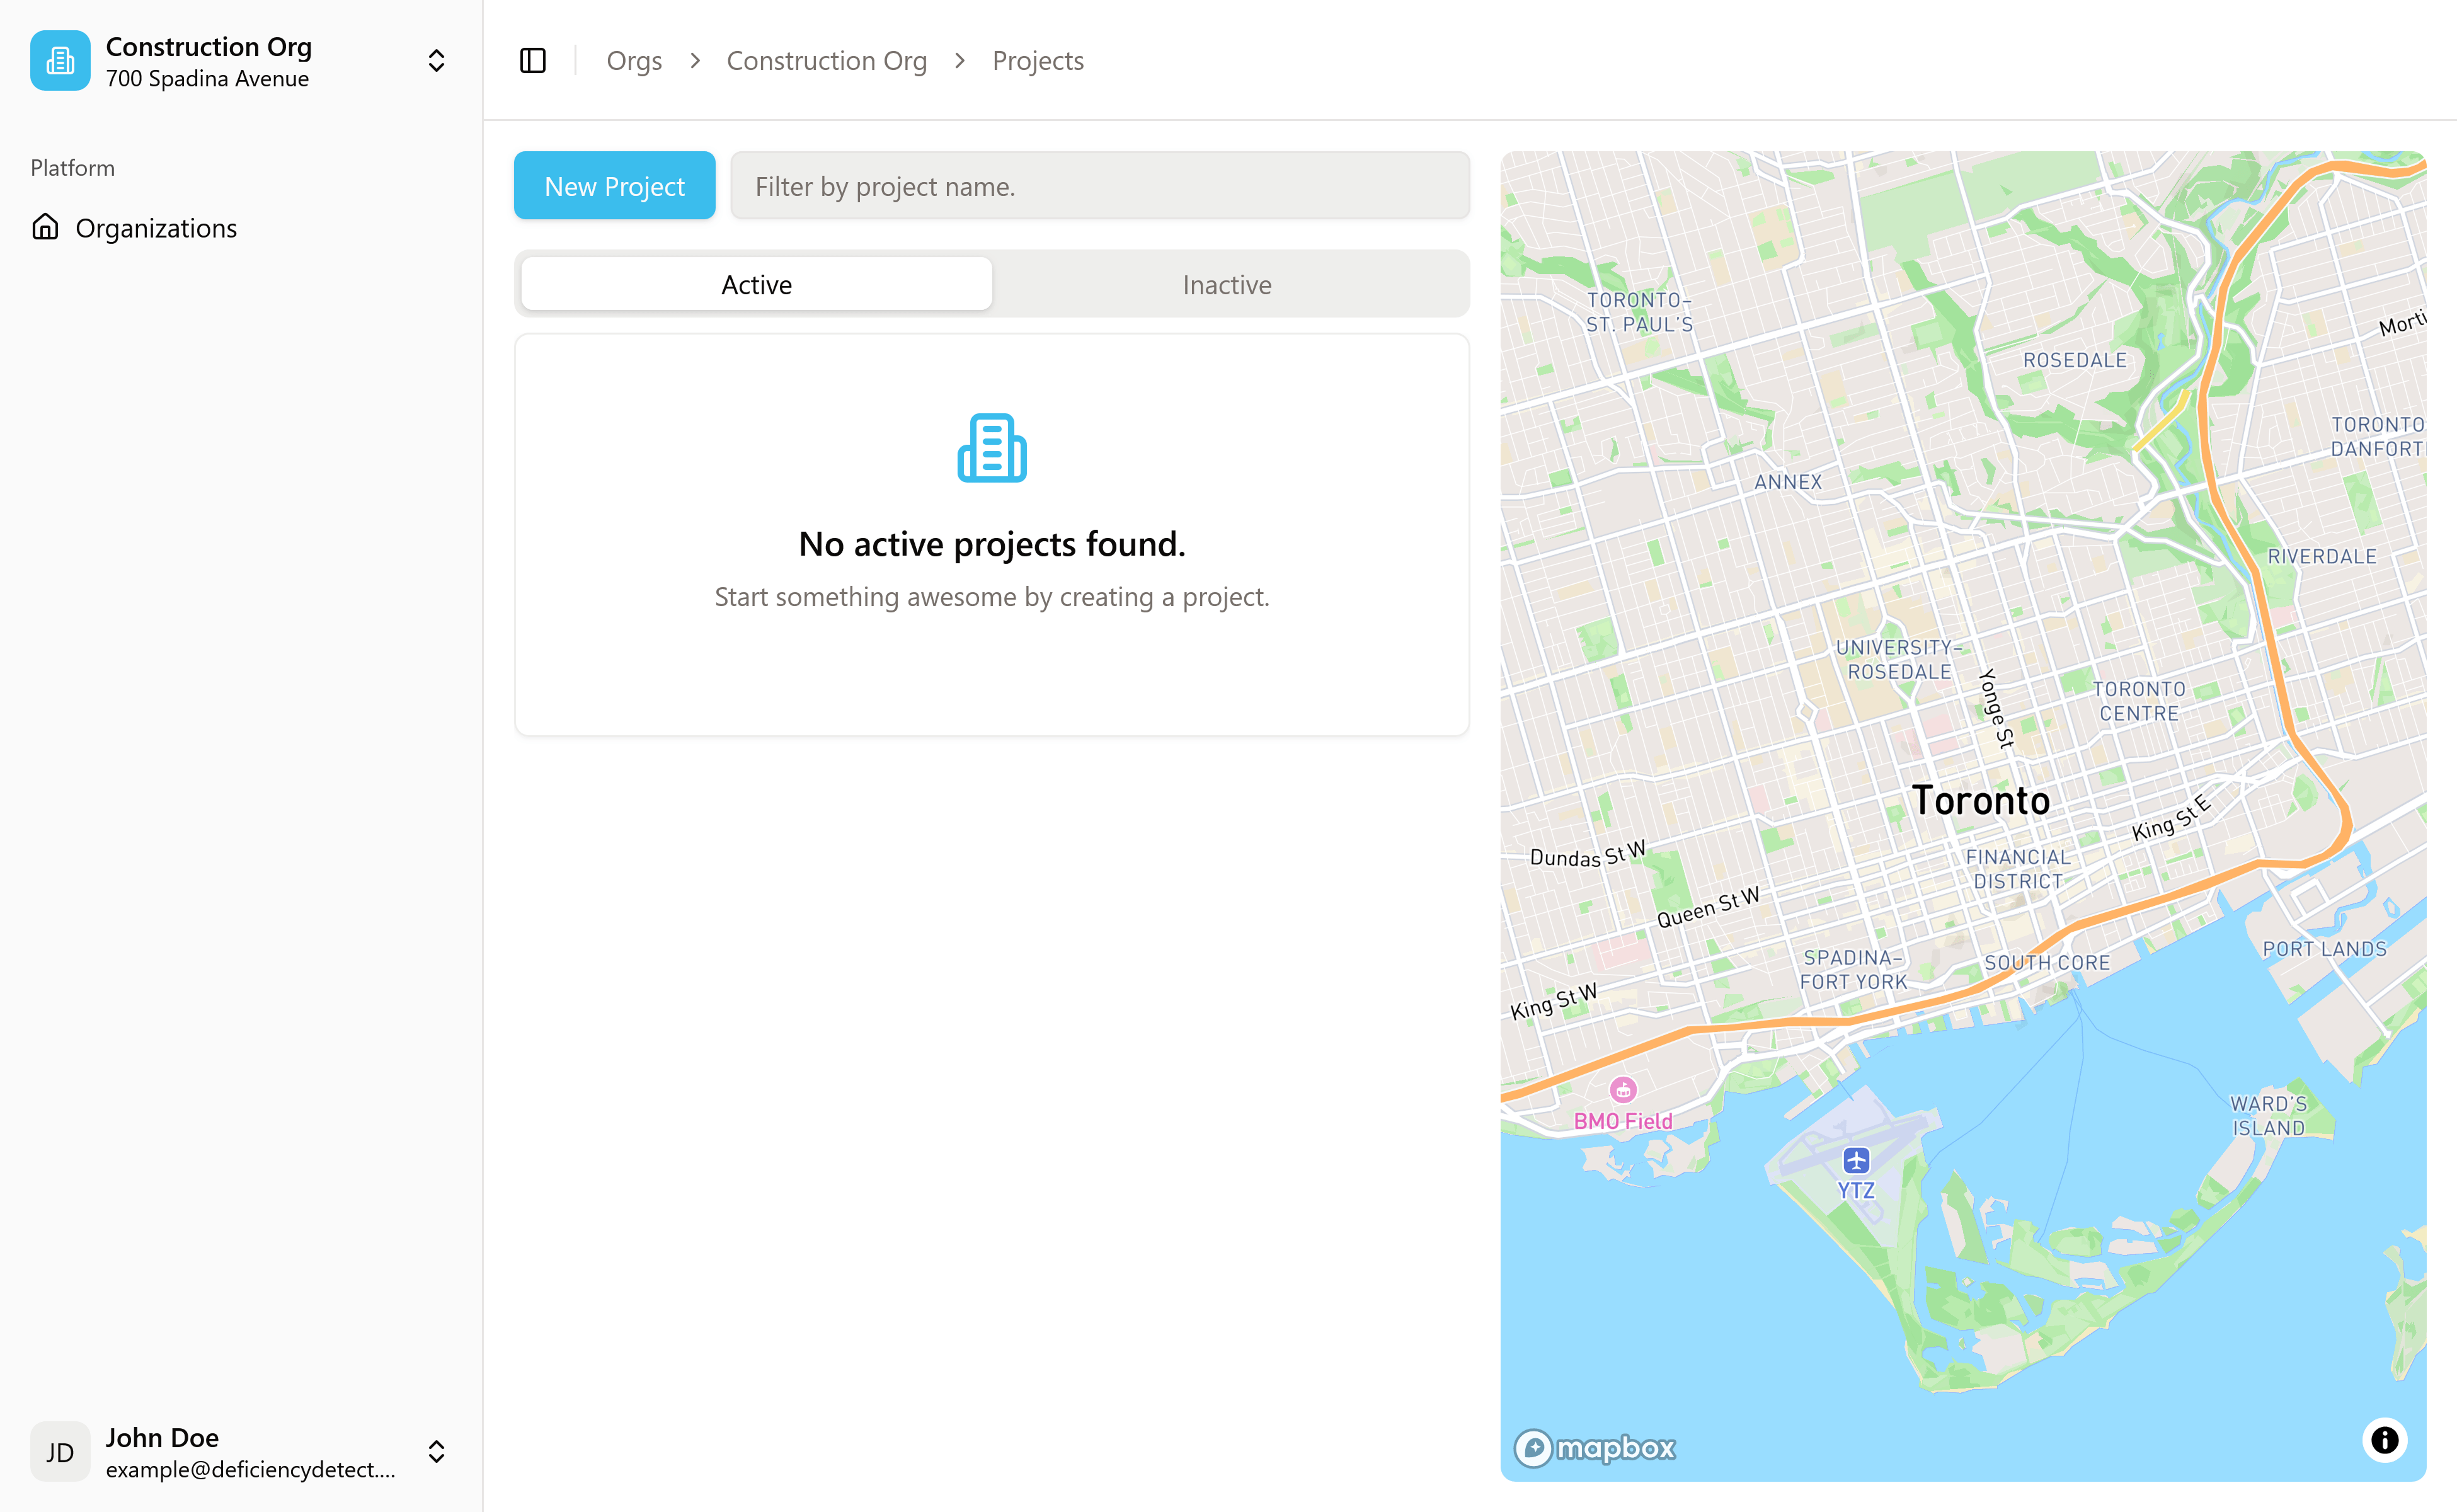
Start a New Project
On the selected organization's projects page, look for and click the "New Project" button. This button is visible only to users with Organization Admin permissions. Clicking it will take you to the "Create New Project" page.
Configure Your New Project
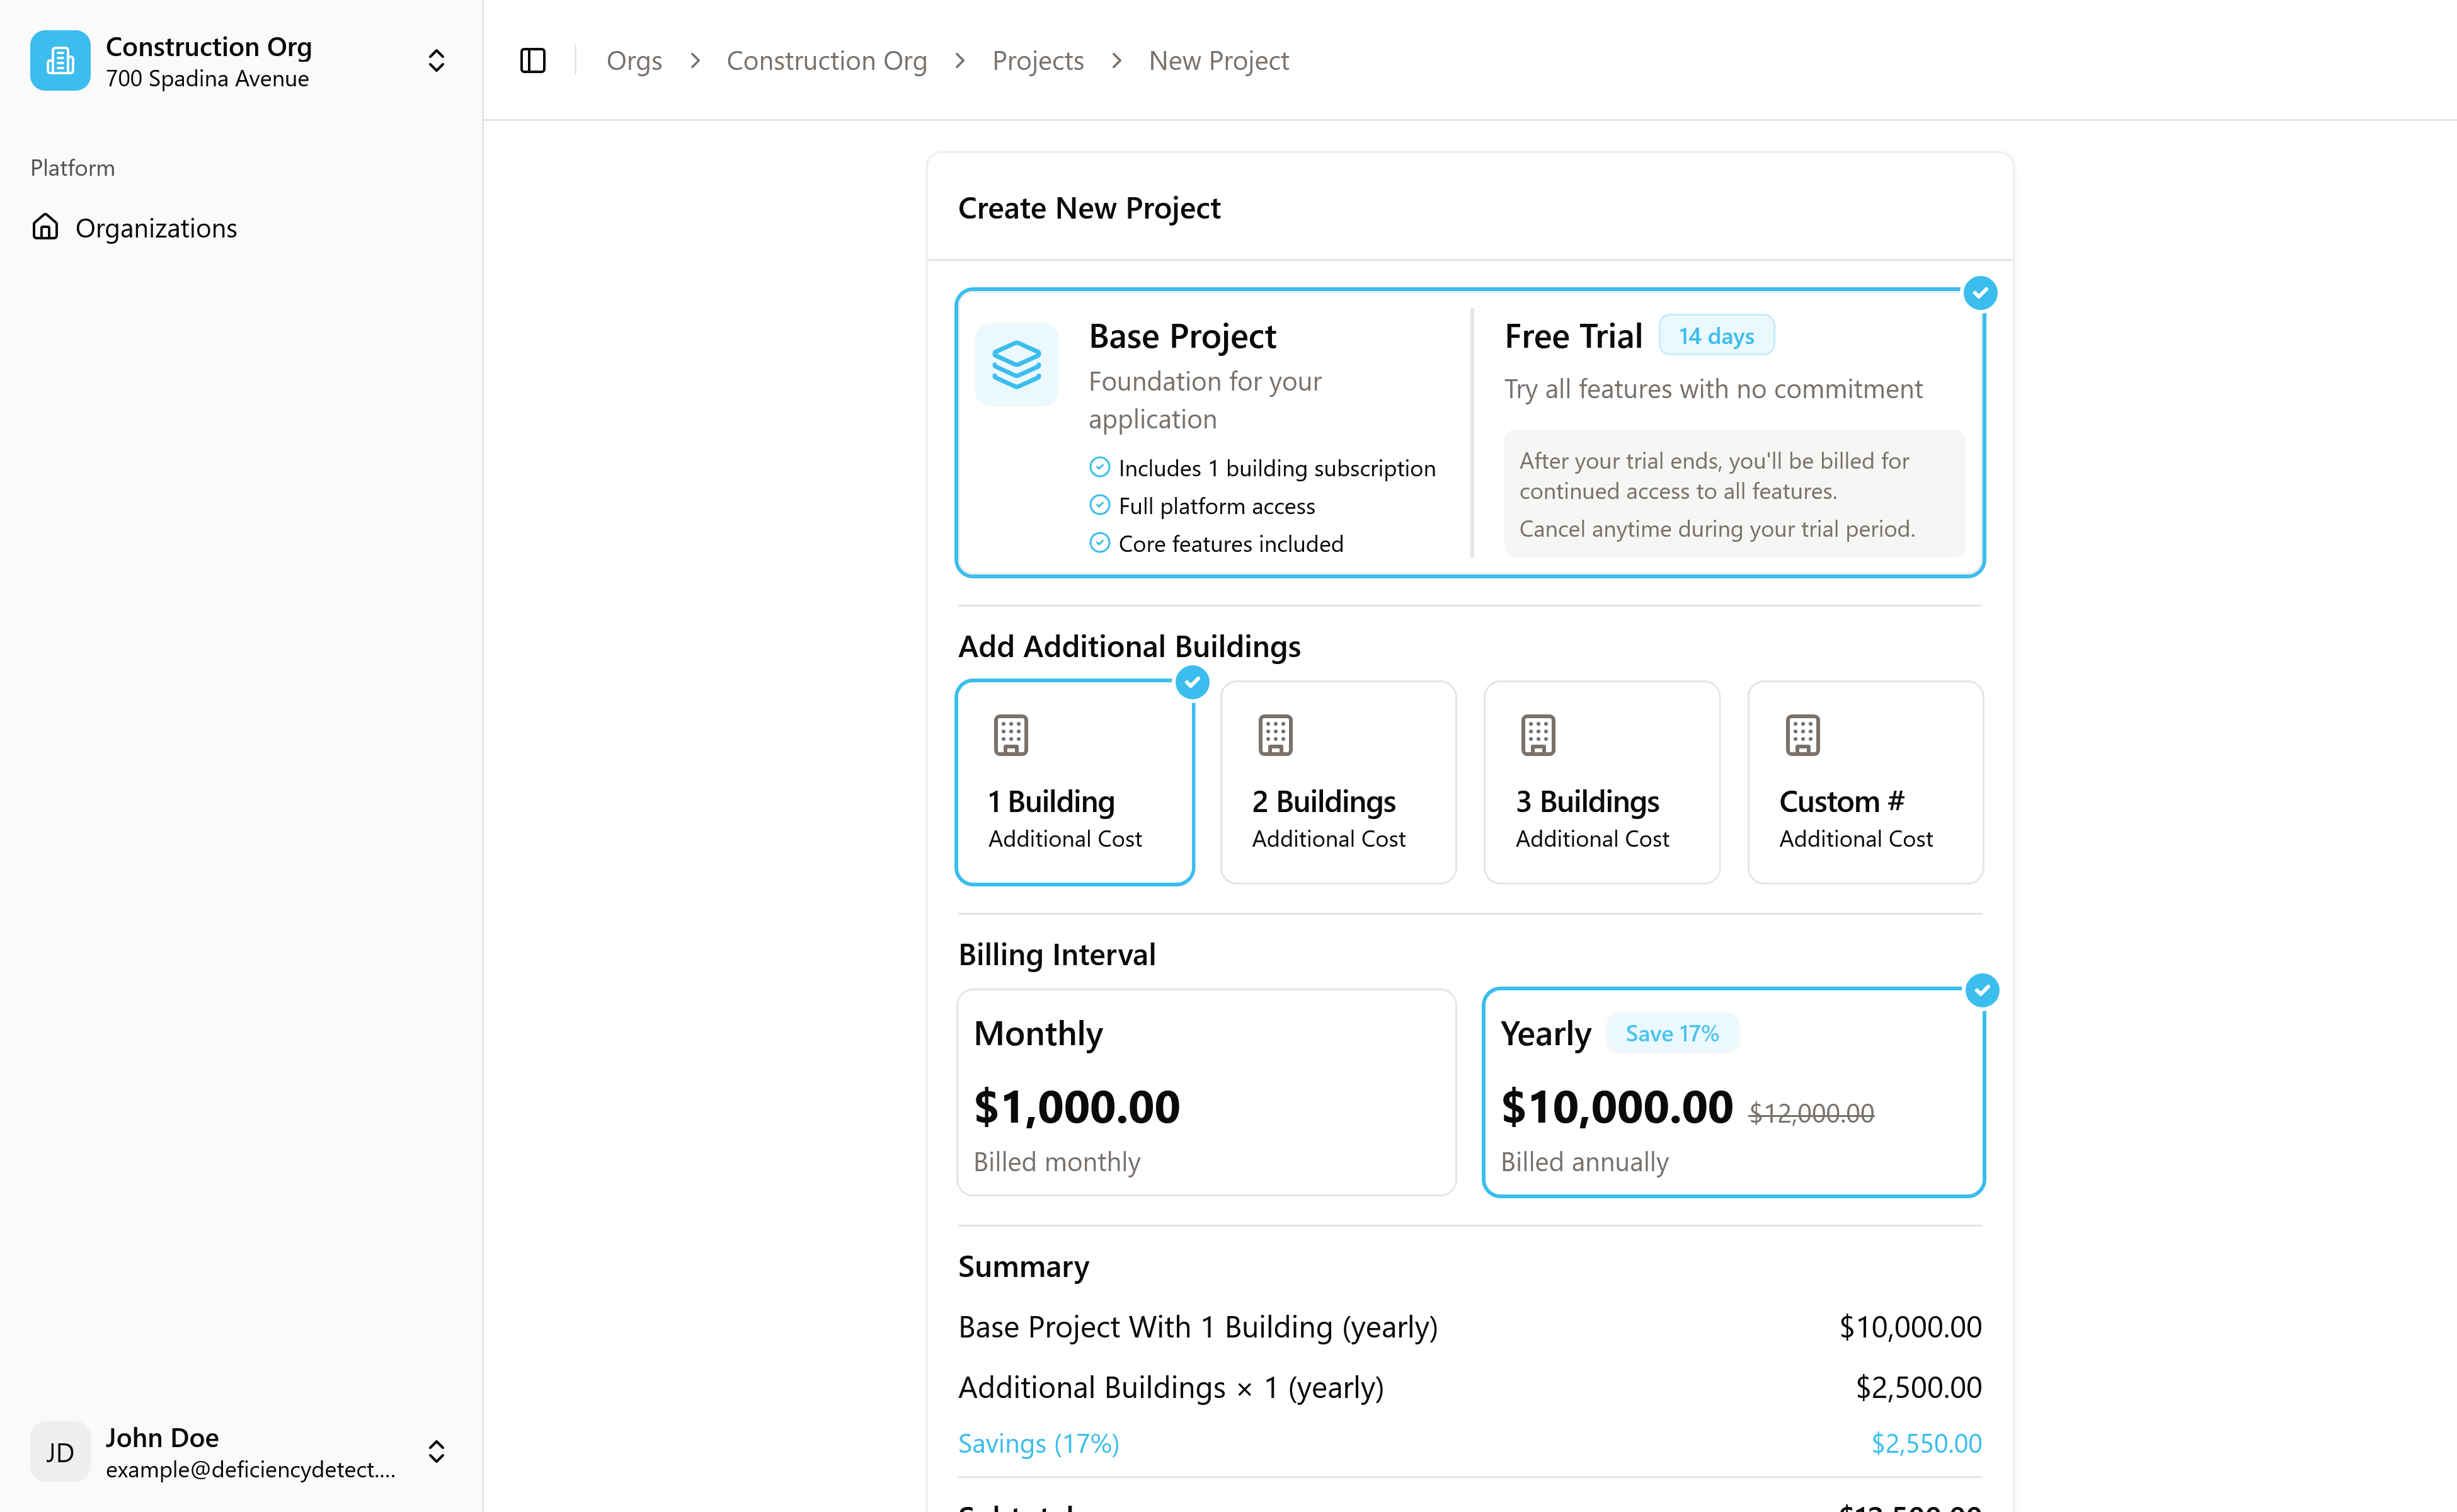
On the "Create New Project" page, you will define the initial parameters for your project:
- Number of Buildings: Specify how many buildings will be part of this project.
- Billing Interval: Choose your preferred billing cycle (e.g., monthly, annually).
- Price Overview: Review the total price based on your selections.
Confirm Checkout & Subscribe
Once you've configured your project details, click the "Confirm Checkout" button. A confirmation summary alert will pop up, allowing you to review your selections and the total cost one last time.
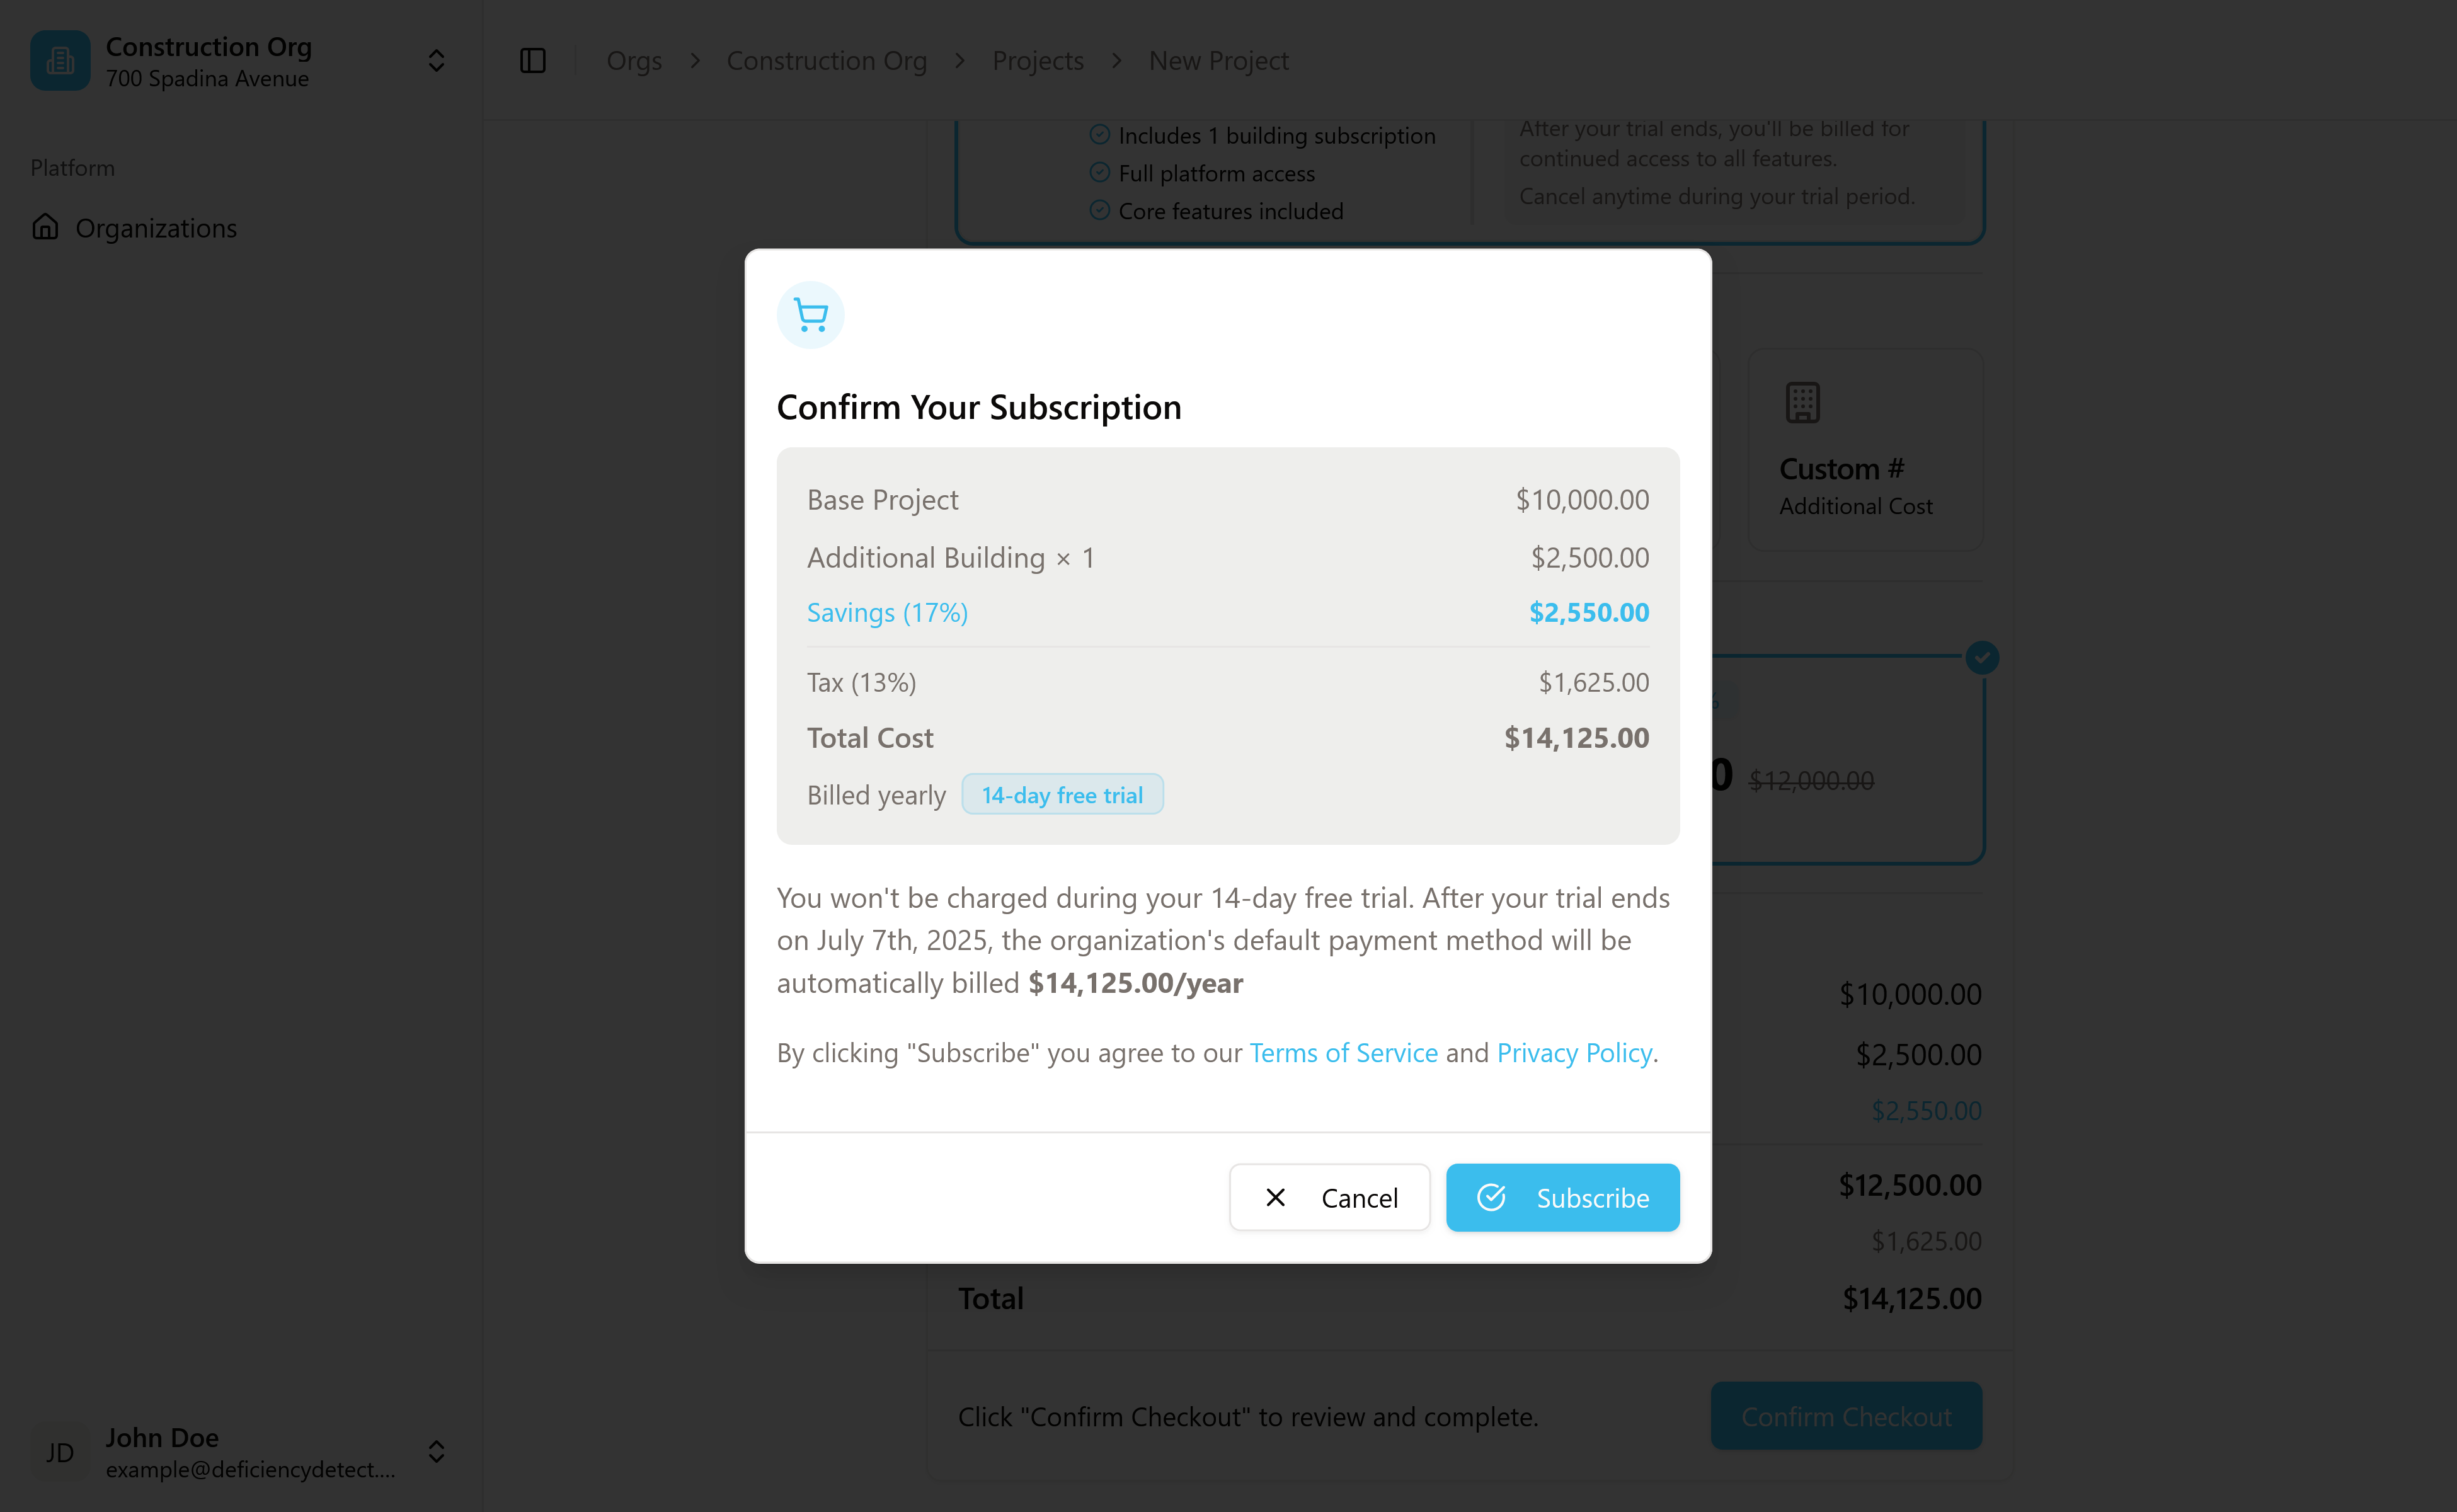
After reviewing, click "Subscribe" within the alert to finalize the project creation and initiate billing.
Project Creation Complete
Upon successful subscription, you will be redirected back to the organization's projects list. Your newly created project should now appear in the list.
Note: If the project doesn't immediately appear, a quick refresh of your browser may be needed to update the list.